Ever stumble across a gorgeous but sadly neglected Victorian sofa at a flea market and think, “I can absolutely fix that?” Well, you certainly can. Restoring antique furniture isn’t just about sanding and staining; it’s about breathing vibrant life back into a genuine piece of history. Grab your work gloves and let’s revive that old-world charm together!
The Thrill of the Antique Hunt
Spotting a genuine Victorian piece in the wild is basically a treasure hunt. Look for those signature ornate carvings, dark woods like mahogany or walnut, and sweeping cabriole legs. I once dragged home a terrifyingly wobbly parlor chair just because the intricate floral backrest was far too good to pass up.
Before you touch a single tool, critically inspect the damage. Is it structural or just cosmetic? If the joints wiggle like a loose tooth, you’ve got some rebuilding to do. But if it’s just a century of dirt and bad shellac, you’re in for a massive treat.

The Initial Deep Clean
You’d be amazed at what a good scrub can do. A gentle wipe-down with a mixture of mild dish soap and warm water serves as your absolute best starting point. Never soak the raw wood. Just use a damp microfiber cloth to carefully lift away the generations of sticky fingerprints and mystery gunk. Sometimes, what you thought was a ruined finish is honestly just eighty years of cigarette smoke and floor wax, IMO. So before you break out the harsh chemicals, give the piece a gentle spa day and see what you’re really working with underneath all that grime.

Stripping Away the Sins of the Past
Let’s address the elephant in the room: someone in the 1970s probably painted your gorgeous walnut dresser lime green. 🤢
To rescue the original grain, you need a high-quality chemical stripper. Apply it generously with an old brush and let it do the heavy lifting.
Essential stripping gear:
- Citrus-based chemical stripper
- Plastic putty knife
- Brass wire brushes
- Chemical-resistant safety gloves
Seriously, don’t rush this part. Watch the old finish bubble up like a bizarre science experiment. Once the paint softens, gently scrape it off with your plastic putty knife so you don’t gouge the fragile antique wood beneath.

Fixing the Wiggles and Wobbles
Victorian furniture is notorious for wobbly joints because the original animal hide glue dries out and crystallizes over time. FYI, injecting new wood glue directly over old hide glue is a massive rookie mistake because it simply won’t bond. You have to scrape out the old crusted glue first.
Once the joint is completely clean, apply high-quality wood glue and clamp it down tight. If a piece of the carving is missing entirely, don’t panic. You can use a two-part wood epoxy to sculpt missing corners or chips. Sand it down once it cures, and it’ll blend right in. Nothing beats the feeling of a chair that actually supports your weight without groaning!

Sanding: The Workout Nobody Asked For
Sanding is exactly where you earn your true restoration stripes. Always start with a medium grit, like 120, to smooth out the surface without being overly aggressive.
Never use a power sander on delicate Victorian veneers. They are tissue-paper thin, and a random orbital sander will chew right through them in seconds, leaving you crying over a ruined tabletop. Hand sanding remains the absolute safest way to go, my friend.
Work your way up to a fine 220-grit sandpaper, always moving directly with the grain. By the time you finish, your arms will feel like jelly, but the wood will feel like absolute glass. Who needs the gym when you have an 1800s settee to restore?

Choosing the Perfect Stain
Victorian aesthetics leaned heavily into dark, moody, rich tones. Think deep cherry, warm walnut, and dark mahogany. Always test your stain on a hidden spot first because 150-year-old wood can soak up pigment like a dry sponge, turning surprisingly dark very quickly. Apply the stain with a clean rag, let it penetrate for a few minutes, and wipe off the excess to reveal that stunning, revitalized grain. If the color still looks too light, just hit it with a second careful coat until you reach peak gothic-chic perfection.

Sealing the Deal
Now for the magic trick! Applying the final finish is when the antique wood truly comes alive.
Authentic finish styles:
- Shellac for strict historical accuracy
- Hand-rubbed paste wax for a soft, subtle glow
- Tung oil for a buttery, tactile texture
Polyurethane is highly durable, sure, but it looks a bit too plastic-like for a genuine antique. IMO, stick to a wipe-on oil or wax for that aged glow that screams pure sophistication.
Apply multiple thin coats rather than one thick layer. Buff the surface gently between coats with fine steel wool. To keep that newly finished surface looking pristine for years to come, make sure to check out the complete guide to protecting raw wood furniture.

Unraveling Upholstery Mysteries
If your antique has cushions, chances are they are stuffed with real horsehair. Yes, actual horsehair. It sounds crazy, but it served as the memory foam of the 19th century! If the original stuffing remains clean and salvageable, you can often reuse it to keep things historically accurate.
When recovering the seat, intentionally choose fabrics that honor the era but still fit your modern style. Think jewel-toned velvets or subtle damasks. Use a heavy-duty staple gun instead of traditional tacks to save your thumbs, and cover the staples with beautiful decorative gimp trim. Just like that, you’ve bridged the massive gap between 1880 and today.

Polishing the Brass and Hardware
Don’t you dare throw away those original brass casters or intricate keyhole escutcheons! Drop the tarnished metal pieces into a slow cooker with water and a squirt of dish soap on low overnight to safely lift off old paint. Afterward, a gentle metal polish and a soft cloth will bring back a subtle, beautiful shine. You want them to look cared for, not like they were freshly stamped in a factory yesterday. Keeping that slight, natural patina fully maintains the piece’s historical integrity and undeniable character.

Styling Your Restored Masterpiece
You did it! Your Victorian beauty is finally restored to its former glory. Now, how do you put it in your house without making your living room look like a haunted museum?
The absolute trick is contrast. Place that heavy, dark, ornate piece directly against a stark white wall or pair it with sleek, modern artwork. This strategic placement allows the antique to act as a brilliant focal point rather than blending into a sea of dusty, old stuff.
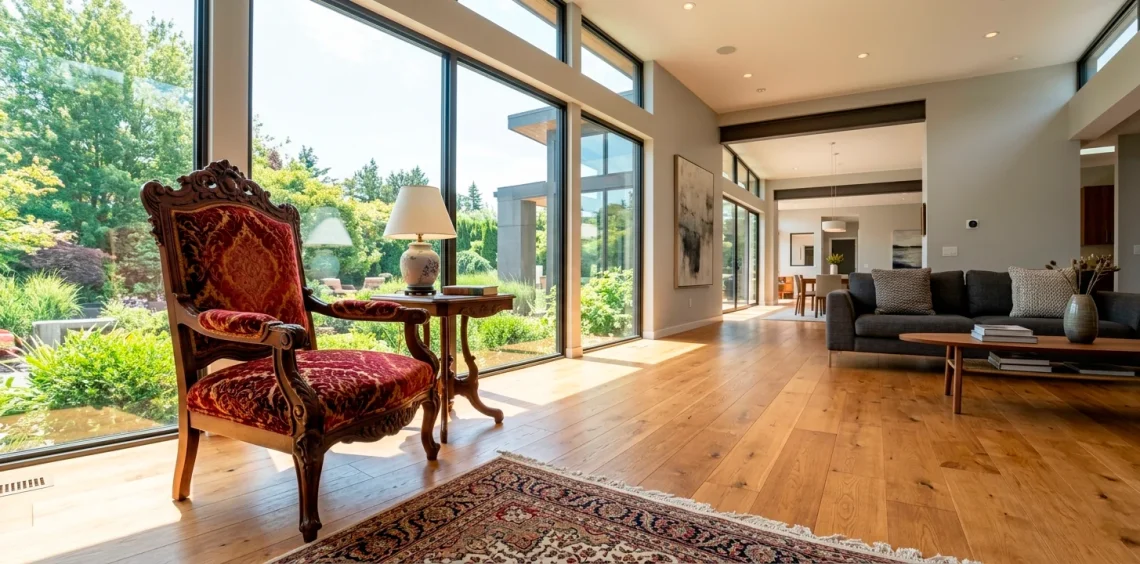
I personally love using restored chairs in unexpected places, like pulling a carved walnut chair up to a stark minimalist desk. It creates the perfect blend of old and new. If you’re wondering where else to place your freshly revived seating, you can always find great ways to build repurposed furniture reading nooks.

Final Thoughts on Antique Restoration
Restoring Victorian furniture demands a labor of love, immense patience, and a whole lot of sandpaper. But there is absolutely nothing quite like stepping back and admiring a piece of history you single-handedly saved from the local landfill. You’ve preserved its unique story while adding your very own chapter to its remarkably long life. So, what century-old treasure are you grabbing first to restore? Let me know in the comments!