Ever stared at a dusty thrift store frame and wondered if it could actually look like a $300 gallery piece? I definitely have. There is something incredibly satisfying about rescuing forgotten art pieces. You don’t need a fancy workshop or a massive budget to create stunning wall decor. Grab a coffee, roll up your sleeves, and let me show you my favorite restoration secrets.
The Thrift Store Hunt
Finding the perfect frame requires a bit of imagination. You want to look past the hideous 1980s floral prints and focus strictly on the bones. Solid wood or heavy resin pieces usually make the best candidates for a high-end makeover. Don’t let ugly paint scare you away.
Always check the joints before heading to the register! Wobbly corners mean extra work, and honestly, nobody has time for that. I usually tap the frame gently against the floor; a solid thud means you found an absolute winner. FYI, ornate details hold antiquing wax beautifully, so grab those heavily carved pieces.

Cleaning Years of Grime
Thrifted finds carry decades of mystery grime, and slapping paint over dust is a massive rookie mistake. Grab a bowl of warm water, a squirt of grease-cutting dish soap, and a soft toothbrush. Gently scrub every single crevice to remove the sticky residue. Wipe the whole thing down with a damp microfiber cloth and let it dry completely. A clean surface guarantees your new finish actually sticks. Skip this step, and you will literally watch your new paint peel off tomorrow. Essential cleaning supplies:
- Mild grease-cutting dish soap
- Soft-bristle detailing toothbrush
- Lint-free microfiber cloths

Sanding and Prepping Like a Pro
Now comes the part everyone hates, but it completely dictates your final result. You must scuff up the old finish.
Grab a medium-grit sanding sponge. You do not need to strip the frame down to bare wood. You just need to remove the glossy sheen so the primer has something to grab onto. Got an intricately carved frame? Fold a piece of flexible sandpaper to reach inside those tiny grooves. A light touch works best here.
Once you finish sanding, wipe away all the dust with a tack cloth. Never skip the tack cloth. A perfectly smooth base ensures a flawless, expensive-looking topcoat.

Fixing Dents and Scratches
Vintage frames often come with battle scars. Sometimes those dents add character, but other times they just look incredibly sloppy. If you want a pristine, modern gallery look, grab some wood filler. Push the filler into deep gouges using a small putty knife, slightly overfilling the hole. Once it dries rock-hard, sand it flush with the surrounding frame. It takes five extra minutes but elevates the entire project from amateur craft to professional restoration. If you love mixing these rescued items into your space, check out the art of blending vintage modern decor.

Choosing Your High-End Finish
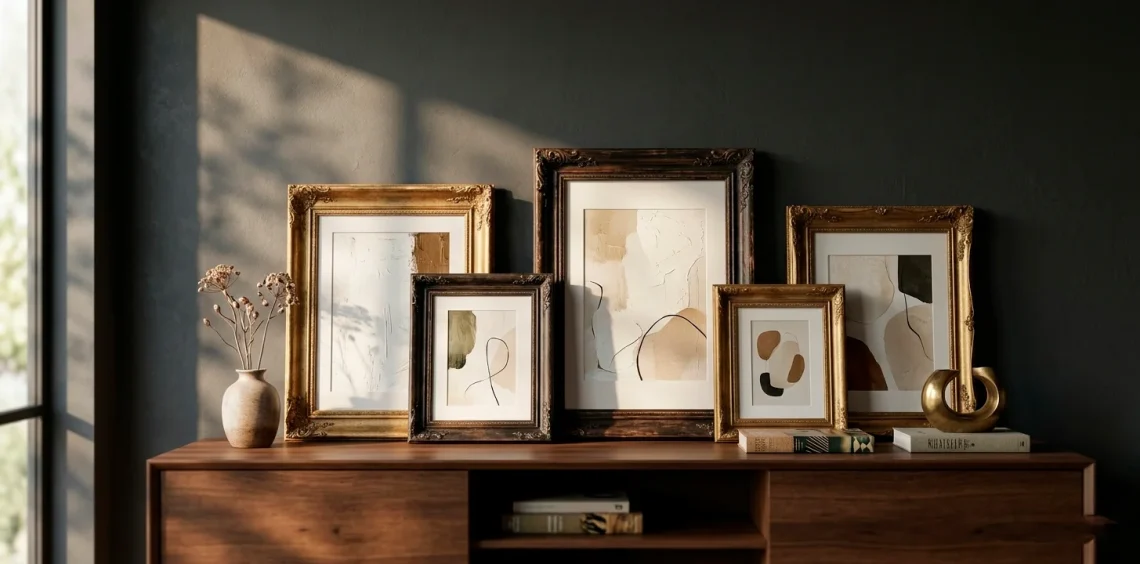
You have a clean, sanded canvas ready for its glow-up. Now you must decide on the final aesthetic. Do you want a sleek matte black or an opulent antique gold?
Spray paint offers the fastest transformation. High-quality metallic spray paints lay down a beautiful, even coat without brush strokes. Just remember to apply multiple thin coats rather than one heavy, drippy layer. Patience pays off immensely here.
If you prefer a richer texture, consider brush-on chalk paint or metallic wax. Rub ‘n Buff remains a legendary secret weapon among DIYers. You literally apply it with your finger for an instant, luxurious metallic sheen.

Applying the Gold Leaf Magic
Want true museum-quality opulence? Gold leafing creates an unbeatable, reflective finish that paint simply cannot replicate. Apply a thin layer of metal leaf adhesive, wait until it becomes tacky, and gently lay the gold sheets over the frame.
It gets messy. You will find tiny flakes of gold floating around your house for days, but IMO, the results justify the chaos. Use a soft, dry brush to sweep away the excess leaf, revealing a stunningly bright, textured surface. Seal your gold leaf with a protective topcoat so it does not tarnish over time.

The Secret Weapon: Antiquing Glaze
Bright gold or fresh paint sometimes looks a bit too new. It screams that you just painted it yesterday.
To achieve an authentic vintage look, you need an antiquing glaze or dark wax. This step tones down the brightness and adds incredible depth to the piece.
Brush the dark glaze over the entire frame, ensuring it sinks deeply into all the carved details. Then, immediately wipe the excess off the high spots using a lint-free rag.
The dark color stays in the crevices, instantly mimicking hundred-year-old patina. This technique transforms a basic plastic or cheap wood frame into an expensive-looking heirloom piece.

Assembling Your Masterpiece
You did the hard work, and your frame looks absolutely incredible. Now you simply need to secure your artwork inside. Cut a fresh piece of acid-free mat board to protect your print from yellowing over time. Clean the original glass thoroughly with a streak-free cleaner.
Place everything back inside the frame and secure it using a point driver or heavy-duty tape. Add a proper wire hanger to the back instead of relying on cheap sawtooth hooks. Your custom art is officially ready for the wall. Looking for ways to display these beauties? You might find some inspiration in these 15 modular gallery wall layout ideas.

Conclusion
Restoring thrifted frames easily ranks as one of the most rewarding DIY projects you can tackle. You save beautiful pieces from the landfill while crafting custom decor that looks incredibly expensive. Armed with a little sandpaper, some quality paint, and a touch of antiquing wax, you hold the power to completely elevate your walls. Remember, perfection isn’t the goal here; character is. Which frame style are you grabbing first? Let me know in the comments!