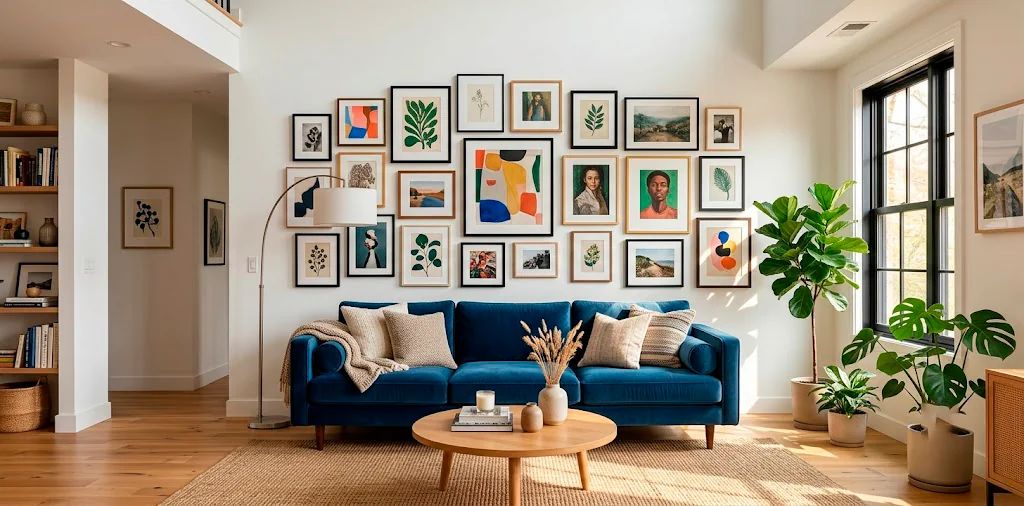
Ever stared at a blank wall and wished you could cover it in gorgeous art, but then remembered your landlord’s strict “no nails” policy? I have definitely been there. You absolutely can build a jaw-dropping gallery display without sacrificing your security deposit. Grab your favorite prints, and I will show you exactly how to pull this off flawlessly.
Clean Walls Keep Things Sticky
Skipping the prep work practically guarantees your beloved artwork will crash to the floor at 3 AM. Dust and oils create an invisible barrier between your paint and whatever adhesive you choose. I learned this the hard way after a framed vintage poster shattered on my hardwood floor.
Grab a microfiber cloth and some rubbing alcohol. Wipe down the entire area where you plan to hang your pieces. The alcohol cuts through lingering grease and dries in seconds. You give the adhesive a fighting chance when you start with a spotless canvas.

Command Strips: The Rental MVP
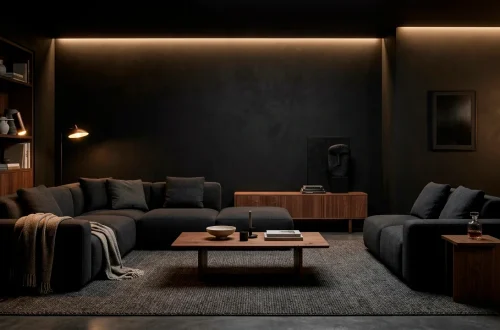
We cannot talk about temporary walls without praising adhesive hanging strips. These little wonders handle surprisingly heavy frames if you follow the weight limits on the package. Always buy a higher weight capacity than you think you need. You just stick one side to the frame and the other to the wall, press firmly, and boom—instant art display. Just remember to pull the tab straight down when you move out, otherwise you will rip a chunk of drywall off. FYI, I use these for almost everything in my apartment. Check out how these scaling principles also apply to larger designs in our eclectic living room styling guide.

Heavy-Duty Hook and Loop Rolls
Need to hang something a bit more substantial?
Standard strips sometimes fail when dealing with weird frame shapes or uneven backing. That is exactly where industrial-strength hook and loop tape swoops in to save the day.
You can cut these continuous rolls to any exact length you require. This flexibility lets you secure the entire top edge of a heavy wooden frame instead of just trusting the corners.
Just check the adhesive backing specs first. Some industrial tapes use permanent glue that absolutely laughs at the concept of “damage-free.” Buy the specifically labeled temporary interior versions.

Washi Tape Frames for Lightweight Prints
Sometimes you only want to hang unmounted posters or delicate paper prints. Bulky adhesive strips completely ruin the minimalist aesthetic of raw paper. Enter Washi tape. This Japanese masking tape features a super gentle adhesive that never damages paint or tears your artwork. You can actually use the tape itself as a decorative border. Frame your polaroids or typography prints with a striking geometric Washi pattern. It looks incredibly chic, costs pennies, and peels off like a dream when you want a fresh look. 😉

The Floor-to-Ceiling Tension Rod Hack
Do you have a weird alcove or a tight hallway?
Floor-to-ceiling tension rods provide a brilliant structural loophole for renters. You wedge two sturdy poles between your floor and ceiling, then string hanging wire horizontally between them.
You essentially build a floating wall. Using S-hooks, you hang your frames directly from those horizontal wires. It gives your space an edgy, industrial gallery vibe while keeping your actual walls completely untouched. I absolutely adore this look for loft apartments or modern setups.

Giant Leaning Corkboard Panels
If you absolutely despise dealing with adhesives, try leaning a giant backer board against your wall. You can buy massive, lightweight cork panels or foam core boards from the local craft store.
Simply lean the giant panel securely against your wall and use standard pushpins to create your gallery composition right on the board. This method completely bypasses the wall paint while adding a beautiful textural element to your room. Plus, you can constantly swap out the artwork without ever worrying about fresh adhesive.

Upgraded Poster Putty
Throw out that crusty blue tack from your high school dorm.
Modern mounting putty evolved significantly over the last decade. Brands now formulate sleek, white, non-toxic clays that grip surprisingly well.
These putties work miracles for lightweight canvases and canvas boards. You just knead a small piece until it gets warm, stick it to the corners, and press the art firmly against the wall.
They never leave greasy stains behind as long as you buy the high-quality museum-grade options.

Map It Out With Kraft Paper
Even with damage-free tools, you do not want to constantly stick and re-stick your frames until you find the right layout. Grab a roll of Kraft paper and trace your frames. Cut out the shapes, write the name of the art piece on each one, and tape them to the wall using gentle painters tape. You can easily visualize the entire composition and adjust the spacing perfectly before you peel a single adhesive backing. This simple step saves you massive headaches. If you need some inspiration for what to hang, browse our calming blue art pieces roundup!

Conclusion
Creating a beautiful home should never depend on whether you own the drywall. You have so many clever ways to display your personality without sacrificing your deposit. Grab those command strips, trace out your dream layout, and start hanging those beautiful pieces today. Which hack are you grabbing first to transform your space? Let me know in the comments!