Ever stared at a blank wall, hammer in one hand and a framed print in the other, feeling absolute dread? We all experience that panic. Hanging art shouldn’t require an engineering degree, yet it always feels like a high-stakes math test. Today, I give you my personal foolproof blueprint to measure, level, and hang your pieces flawlessly on the first try. 🛠️
Gathering Your Essential Toolkit
Before you start making Swiss cheese out of your drywall, you need the right gear. I used to just grab a shoe and a rusty nail for my first apartment, but trust me, precision actually matters here.
A good setup changes the entire game. Essential toolkit:
- 25-foot tape measure
- Standard steel hammer
- Blue painter’s tape
- Magnetic torpedo level
IMO, keeping everything in one little caddy prevents that frantic mid-project scramble when you balance a heavy frame on your knee.

The Magic 57-Inch Rule
Ever wonder why museums always look so incredibly put together? Curators follow a universal standard. You must hang your art so the center of the piece sits exactly 57 inches from the floor. This perfectly aligns with the average human eye level. Seriously, this single rule completely transforms your space from a chaotic dorm room vibe to a sophisticated gallery. Stop guessing the height and just use the tape measure to mark 57 inches straight up your wall. It works flawlessly every single time!

Finding Your True Center Point
Math time! Don’t panic, you can handle this simple arithmetic.
Measure the total height of your frame and divide it by two. That gives you the exact physical center of the artwork.
Now, pull the hanging wire completely taut toward the top edge of the frame. Measure the distance from that tight wire to the top edge. Subtract that wire distance from your first half-height number.
Add that final number to 57. This formula gives you the exact height to place your nail on the wall. I know it sounds like crazy geometry, but this calculation guarantees the center of your art stays firmly at that 57-inch sweet spot.

Conquering the Gallery Wall
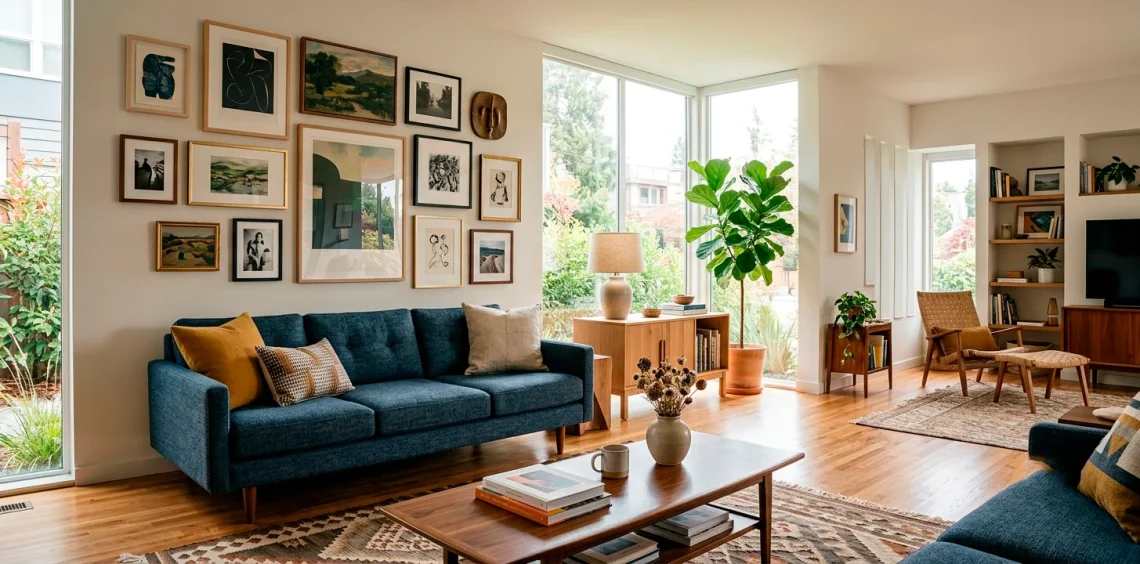
Grouping multiple frames terrifies a lot of people, but you can absolutely dominate this project. Treat the entire arrangement as one giant piece of art. Find the center of your central piece and lock that in at 57 inches. Then, space your surrounding frames roughly two to three inches apart to maintain a cohesive look. Consistency in your spacing acts as the true secret. If you mix up your gaps, the whole setup instantly looks sloppy. Want some inspiration for what to put inside those frames? Check out this desert modern gallery wall ideas essential prints guide.

The Paper Template Hack
I absolutely refuse to hang a complex grouping without doing this trick first. Trace every single frame onto kraft paper or old newspaper.
Cut out those shapes and label them with the corresponding artwork. Next, use your painter’s tape to stick these paper ghosts exactly where you want them on the wall.
You step back, stare at the layout, and shift things around without putting a single hole in the wall. Once you nail the layout, you hammer your hooks right through the paper templates and tear the paper away. It feels like absolute magic!

Weighing It Out with Anchors
Nothing ruins a weekend faster than hearing a massive crash at 2 AM because your heavy mirror ripped right out of the drywall. Always check the weight rating on your hardware. For anything over ten pounds, you absolutely must use drywall anchors or find a stud. Those tiny brass hooks work beautifully for small photos, but large canvases demand serious support. Skip the cheap plastic anchors and grab the self-drilling metal ones. They grip the wall like crazy and give you total peace of mind. Trust me, I learned this the hard way after a vintage clock destroyed my favorite vase.

Leveling Up Your Game
You did the math, you hammered the nail, and you hung the piece. But it looks drunk.
Grab your trusty level and rest it gently on the top edge of your frame. Tap the corners until that little bubble floats perfectly between the two black lines.
If your frame keeps shifting every time someone shuts a door, grab some adhesive museum putty. Place a tiny pea-sized dot on the bottom back corners and press it firmly against the wall. Your art stays perfectly straight forever. This simple trick saves you from constantly adjusting frames every time you walk past them.

Leaning vs. Hanging
Sometimes the best hanging method involves no hanging at all. Leaning art on picture ledges, mantels, or even the floor creates an effortlessly cool, bohemian vibe. I love doing this with massive, oversized canvases that feel too heavy for standard walls.
You easily layer smaller frames in front of larger ones to build incredible depth. It gives you the freedom to swap out your decor constantly without patching holes. If you want to make a bold statement on a shelf, explore these 15 gilded frames elevate home library aesthetic ideas.

Proper Lighting Changes Everything
You hung the art perfectly, but it hides in the shadows. Let’s fix that.
Proper lighting transforms a good piece into a stunning focal point. Top features of picture lights:
- Instant museum sophistication
- Highlights canvas textures
- Eliminates harsh room glare
I highly recommend the battery-operated LED options if you hate hiding messy cords. You just mount the bracket right above your frame and clip the light on.
Always choose a warm color temperature for your bulbs. Cold, blue light makes your vibrant paintings look incredibly sterile and uninviting. Treat your home gallery with the respect it deserves!

Final Tweaks and Spacing
Step back and admire your handiwork. Pay attention to how the art interacts with your furniture. Leave about six to eight inches of breathing room between the bottom of the frame and the top of your sofa or console table.
If you hang it too high, the art visually floats away from the furniture and creates an awkward disconnect. Tie the whole vignette together by ensuring the pieces feel grounded. Grab your tape measure one last time to verify those gaps. Now pour yourself a drink, because you officially mastered the art of hanging art!

Conclusion
Hanging art confidently totally transforms your living space from a basic room into a curated sanctuary. You just need a tape measure, some simple math, and the patience to plan your layout first. Take control of those blank walls and display your favorite pieces proudly! Which measuring trick are you trying first? Let me know in the comments! 👇