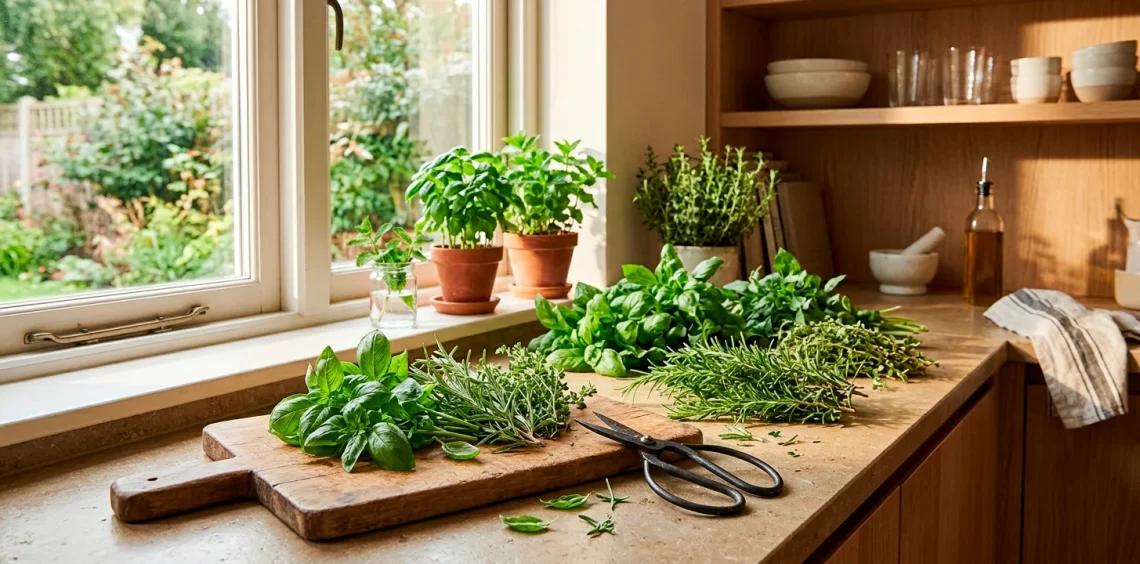
You finally grew a lush indoor herb garden without killing it. High five! But now what? You can only eat so much fresh basil before it wilts. Preserving your indoor herb harvest means capturing that intense summer flavor for your mid-winter soups. Let me walk you through the absolute best ways to dry and store your aromatic green babies right now.
The Snip: When and How to Harvest
Grab your sharpest scissors because timing matters. You want to snip your herbs right before they flower. Why? That exact plant stage holds the peak essential oil concentration. Wait too long, and you get bitter leaves nobody wants to eat.
Snip them in the morning after the dew evaporates but before the midday sun bakes them. Leave at least a third of the plant intact so it keeps growing. Never yank the stems. Clean, precise cuts prevent plant stress and keep your indoor garden thriving for months.

Prep Work: Washing and Sorting
Wash your freshly clipped branches under cool water to evict any tiny bugs. Nobody wants extra protein in their oregano, right? Pat them completely dry with a clean kitchen towel. Any lingering moisture practically begs mold to move in and ruin your entire batch. Pick off the dead or yellowing leaves and toss them in the compost. Keep only the vibrant, healthy green ones for the drying process. Taking five minutes to prep your harvest saves you from a massive headache later on.

Hang Time: The Classic Air Drying Method
Bundling your herbs feels incredibly rustic and satisfying.
Grab a small handful of stems and tie them together with twine. Keep the bundles small. Huge clumps trap moisture in the center and invite nasty mildew.
Hang these little bouquets upside down in a dark, dry, and well-ventilated spot. A warm attic or a breezy pantry corner works wonders. Avoid direct sunlight at all costs because UV rays bleach out the flavor and color faster than you can blink.
Wait about two weeks. Honestly, watching them slowly transform adds a gorgeous earthy vibe to your space. If you want more ways to bring nature indoors, check out this guide to lush botanical decor modern home.

Speed Things Up: Oven Drying Basics
Impatient? I get it. You can totally use your oven to fast-track this whole ordeal. Set your oven to the lowest possible temperature, usually around 170шF. Spread the leaves in a single layer on a parchment-lined baking sheet. Prop the oven door open slightly to let the moisture escape. Check them every fifteen minutes. You want them brittle, not roasted. Burnt parsley tastes like absolute sadness, IMO. Pull them out the second they shatter between your fingers.

Dehydrators: The Tech-Savvy Route
If you own a food dehydrator, you basically hold the golden ticket. This gadget offers the most consistent results by blowing warm air evenly across the leaves.
My favorite dehydrator features:
- Digital temperature control
- Multiple stackable trays
- Fine mesh silicone inserts
Set the dial to 95шF. You can usually dry a full batch in just a few hours. This tech-savvy method preserves the essential oils beautifully and keeps the colors stunningly vibrant.

Checking for Perfect Crunchiness
How do you know they reached perfection? Do the crumble test. Take a single leaf and pinch it between your fingers. It should shatter instantly like a fragile autumn leaf on the pavement.
If the leaf bends even slightly, it needs more time in the heat. Do not rush this step. Storing even slightly damp herbs guarantees a fuzzy, moldy disaster. Patience pays off massive dividends when you want perfectly preserved flavors for your winter stews.

Glass Jars and Dark Cabinets: Proper Storage
Ditch the cheap plastic baggies right now. Glass mason jars reign supreme for long-term herb storage.
Strip the dried leaves from the stems carefully. Leave the leaves whole until you actually cook with them. FYI, crushing them now releases the oils early, meaning they will taste like dusty cardboard by December.
Pack the jars tight and seal them with an airtight lid. Oxygen degrades the flavor almost as fast as sunlight does.
Hide your stash in a cool, dark cabinet away from the stove. Heat destroys their culinary potency. Need inspiration for arranging your newfound spice collection? Explore these sophisticated grey white pantry organization ideas.

Labeling: Because Mystery Herbs Are Dangerous
I once ruined a perfectly good batch of brownies by confusing dried mint with dried tarragon. Learn from my tragic mistake.
Stick a label on every single jar immediately. Write the herb name and the exact date you stored it. Dried marjoram and dried oregano look identical in a glass jar. Save your future self the headache of sniffing jars blindly while your soup boils over on the stove.

Shelf Life: When to Toss the Stash
Even perfectly dried herbs do not last forever. They lose their culinary magic after about twelve months. Give them a quick sniff test before you dump them into your simmering pasta sauce. If they smell like nothing, they will taste like nothing. Compost the old batch and start fresh. Growing, harvesting, and drying your own herbs forms a beautiful, endless cycle that keeps your kitchen smelling incredible year-round.

Conclusion
Drying your own indoor herbs saves money and guarantees a superior flavor profile for your cooking. You put in the hard work to grow them, so do not let those fragrant little leaves go to waste! Grab your shears, pick a drying method, and stock up that pantry. Which herb are you planning to harvest first? Let me know in the comments below!