Skip to content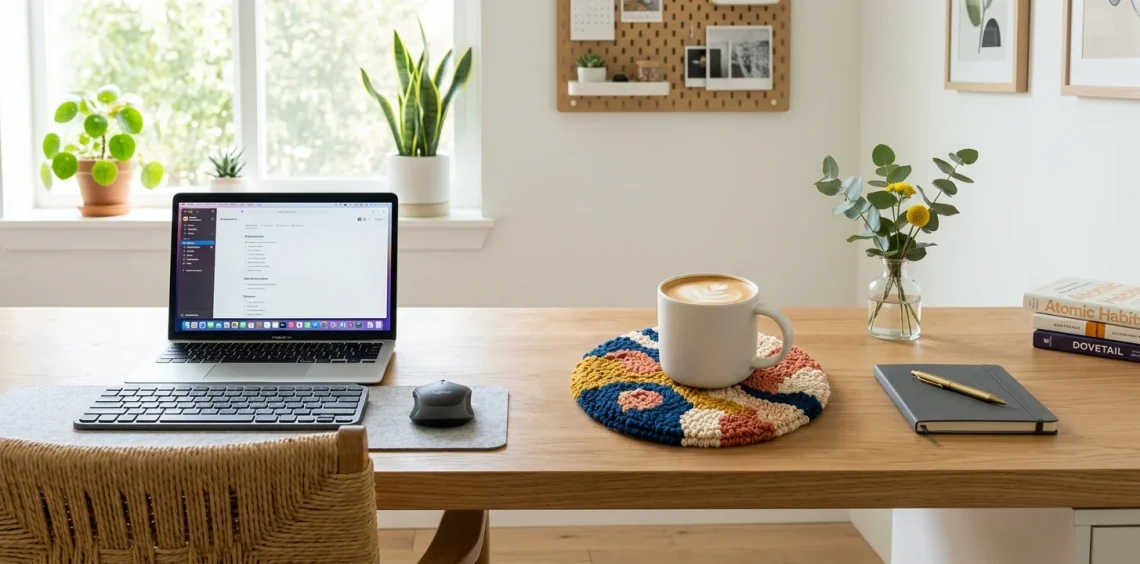
Tired of staring at those boring, water-stained cork circles on your desk? You definitely deserve better. Punch needle crafting offers the perfect weekend project to upgrade your workspace with zero stress. I actually made my first coaster after spilling coffee on crucial tax documents. We learn the hard way! Let’s make something colorful and functional together.
Why Punch Needle is the Ultimate Desk Upgrade
Have you ever picked up a new hobby only to abandon it three days later? Punch needle skips that frustration entirely. This technique feels just like coloring with yarn, making it ridiculously fast and satisfying. You literally just poke a needle through fabric. This hobby involves no complicated knitting patterns or painful finger calluses. Plus, these plush little rugs completely transform your boring office aesthetic into something joyful.

Gathering Your Core Supplies
Before we start stabbing things creatively, you need a few basic supplies. Don’t worry, you won’t need to empty your savings account for this.
The magic triad consists of a punch needle, monks cloth, and an embroidery hoop. A non-slip hoop keeps your tension tight, which absolutely makes or breaks your project.
A useful little gift for your home
🎁 Free Plant Finder Tool
Filter 250+ houseplants by style, size, and care level to find your perfect green companion in seconds.
We’ll email you the link. Plus, you’ll join our newsletter for fresh home inspiration.
I highly recommend snagging a starter kit if you feel overwhelmed. Essential tools list:
- Adjustable punch needle
- Sturdy plastic or wooden hoop
- Small sharp scissors
- Fabric marker

Choosing Yarn That Actually Works
IMO, yarn selection dictates your entire coaster vibe. Avoid the shiny, slippery acrylic stuff because it just pops right out of the fabric.
Instead, grab some chunky wool or a sturdy cotton blend. Cotton yarn handles condensation from your iced lattes like a champ. Wool provides that incredibly cozy, vintage rug texture. Wondering if your yarn stash works? Just thread it through your needle—if it slides easily without snagging, you hold a winner.

The Truth About Foundation Fabrics
You cannot just use an old t-shirt for this. Trust me, I tried.
Monks cloth remains the absolute gold standard for punch needle projects. This loosely woven cotton fabric perfectly grips your yarn loops.
If you cannot find monks cloth, linen makes a decent backup option. Just ensure it has an even, open weave.
Always cut your fabric at least two inches wider than your hoop. This gives you plenty of gripping room. Tight fabric guarantees crisp, even loops.

Transferring Your Coaster Design
Keep your first design wonderfully simple. Think bold shapes like sunny daisies, chunky checkerboards, or basic abstract squiggles. Leave the intricate Mona Lisa recreations for next year.
Just place your fabric over a printed design and trace it using a sunny window as a lightbox. Use a water-soluble marker so any wild tracing mistakes vanish instantly. Always draw your pattern on the back of the fabric, because you punch from the reverse side!

The Punching Process Uncovered
Hold the tool like a pencil and keep the open channel of the needle facing your direction of movement. Push the needle all the way down until the handle touches the fabric, then gently drag the tip across the surface to your next stitch. Never pull the needle too high, or you will accidentally unravel your hard work! Work from the outside border inward to keep your shapes distinct. Want more fun workspace styling ideas? Read this guide on checkerboard home decor accents to brighten up your space.

Troubleshooting Common Mishaps
Loops popping out? You probably have too much tension on your yarn supply. Ensure your yarn flows freely from the skein.
Sometimes your stitches look incredibly messy on the front. This usually means you space your punches too far apart.
Do not panic if you mess up. You just pull the yarn out, scratch the fabric gently with your fingernail to close the weave, and start over. I practically re-punched my first daisy coaster four times before it looked somewhat decent!

Securing the Backing Like a Pro
Once you finish punching, trim the excess fabric, leaving about an inch around your beautiful new coaster. Cut small notches into this fabric border, fold it inward, and hot glue it flat against the back of your work.
To make it fully desk-ready, cut a circle of felt and glue it over the messy back. This felt backing prevents the coaster from scratching your desk surface. Now you possess a professional-looking piece of functional art!

Styling Your Desk Space
Now comes the fun part: you finally get to show off your masterpiece.
A plush, colorful coaster immediately softens the harsh look of laptops and monitors. It adds a crucial human touch to a sterile environment.
I love pairing a chunky wool coaster with a sleek ceramic mug for that ultimate texture contrast.
Try matching your yarn colors to your mousepad or keycaps for a cohesive look. If your cords currently ruin this beautiful aesthetic, you might need to check out this aesthetic cord management guide for a clean desk setup.

The Perfect Handmade Gift
Warning: you will find this process highly addictive. 😅 Once your own desk looks perfect, you will inevitably start making them for everyone you know. They make fantastic, budget-friendly gifts for coworkers or friends who appreciate quirky home accessories. You can personalize the colors to match their office vibe, creating something incredibly thoughtful in under two hours.

A useful little gift for your home
🎁 Free Plant Finder Tool
Filter 250+ houseplants by style, size, and care level to find your perfect green companion in seconds.
We’ll email you the link. Plus, you’ll join our newsletter for fresh home inspiration.
Conclusion
Punch needle coasters offer the perfect gateway into fiber arts without stealing your entire weekend. You get a functional, adorable desk accessory that strictly protects your furniture from sweaty iced coffee cups. Grab your supplies, pick a fun design, and start punching. Which bold color are you grabbing first? Let me know in the comments below!