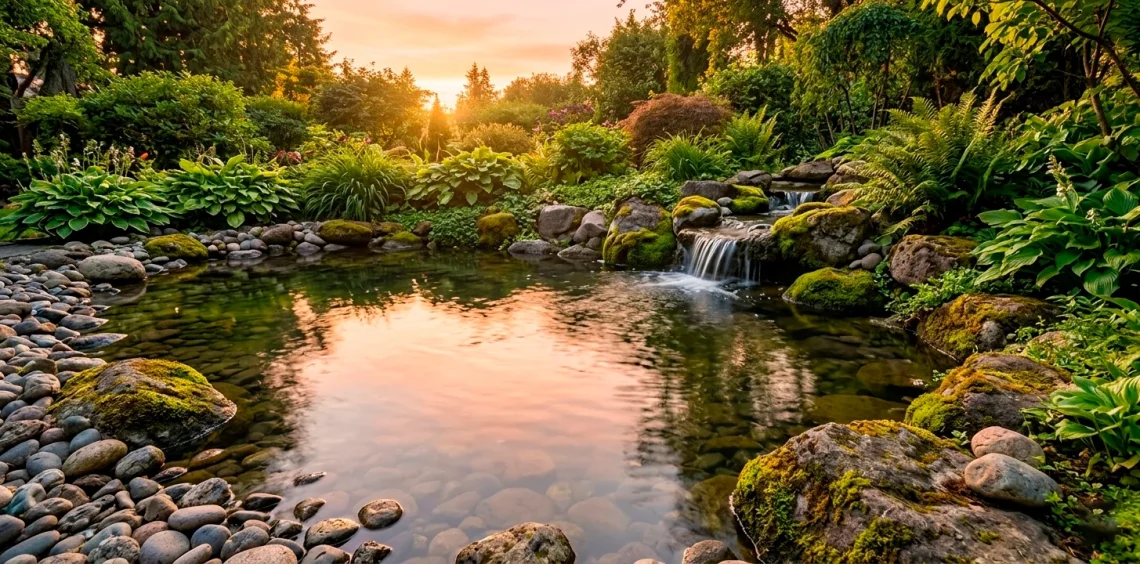
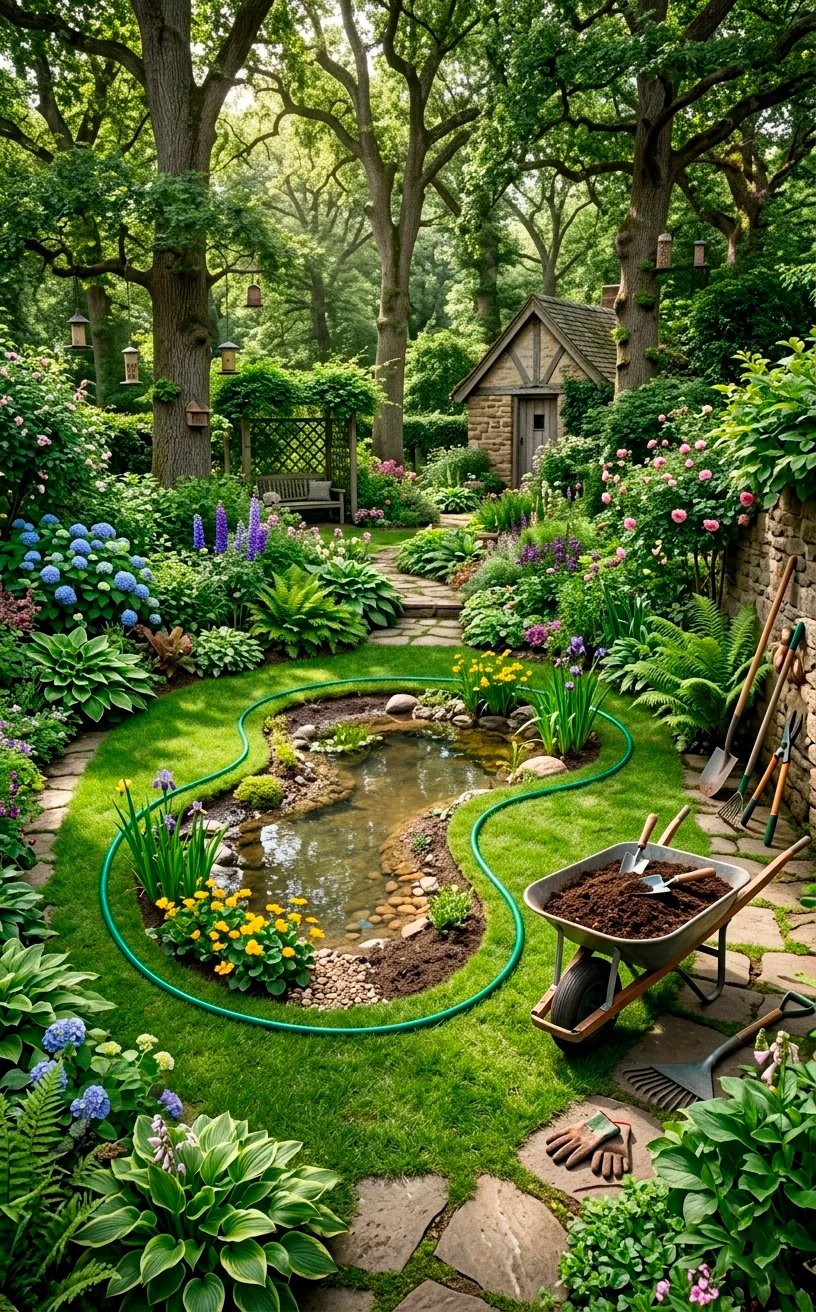
Stop dreaming about that murky puddle and start picturing a crystal-clear oasis where dragonflies dance and your stress simply melts away. I know, building a natural pond sounds like a massive project that might end in a muddy disaster, but I promise it’s easier than you think. Ready to turn your backyard into a breathtaking sanctuary? 🌿
Choosing the Perfect Spot
Location is everything, my friend. You don’t want to spend three weeks digging only to realize your pond sits directly under a leaf-dropping maple or in a spot that floods every time a cloud looks at it funny. Trust me, I learned that the hard way when I ended up with a swamp instead of a sanctuary.
Find a spot with at least six hours of sunlight to keep your aquatic plants happy, but avoid the lowest point of your yard. Why invite runoff and pesticides into your pristine water? Keep it visible from your favorite window so you can actually enjoy your hard work while sipping coffee.
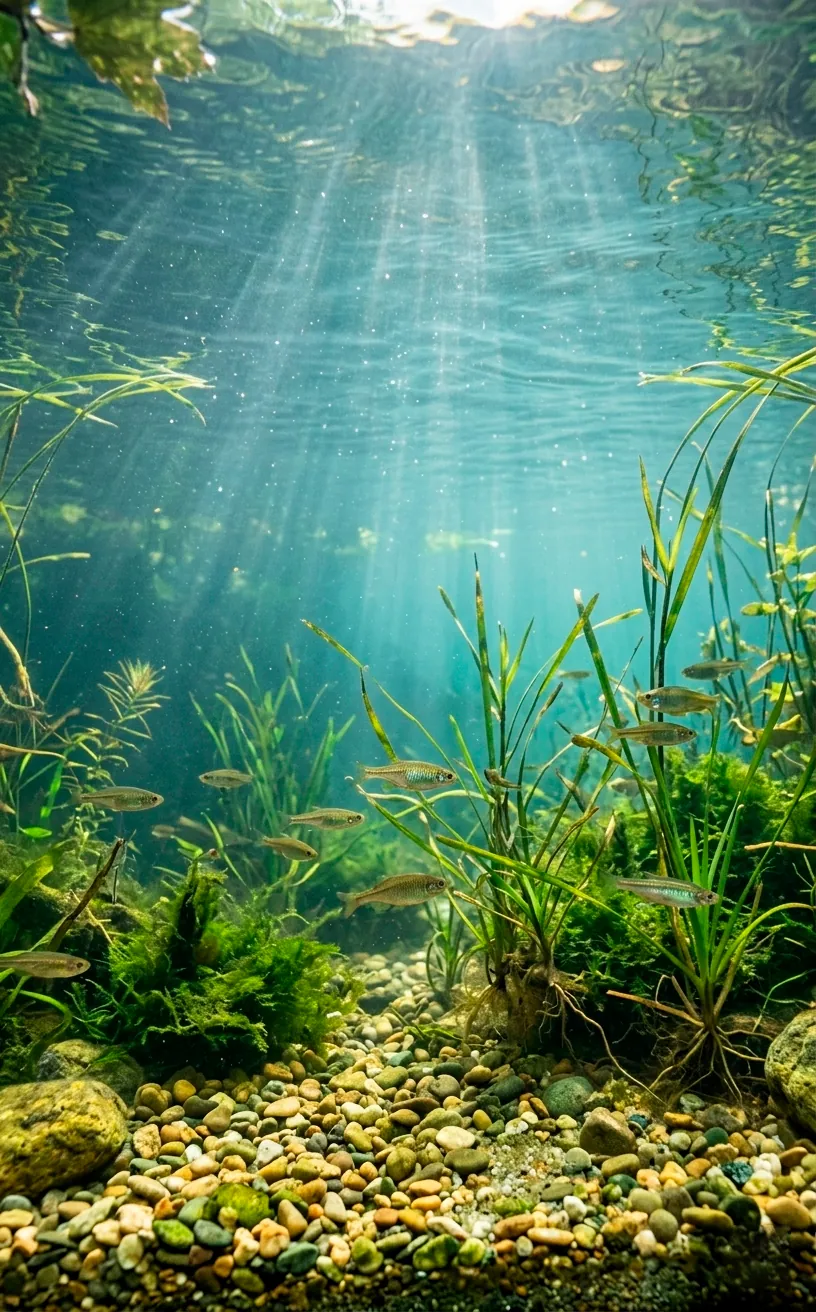
Embracing the Ecosystem Approach
Forget those chemical-heavy swimming pools; we are building a living, breathing ecosystem here. A truly natural pond relies on a delicate balance of plants, bacteria, and aeration to keep the water clear without you playing mad scientist with jugs of chlorine. Does a self-cleaning backyard feature sound like a dream? It basically is! By mimicking Mother Nature, you create a space where beneficial bacteria break down waste while plants soak up nutrients, leaving the water sparkling and the local frogs very happy. IMO, skipping the ‘natural’ part just leads to more chores later. ✨
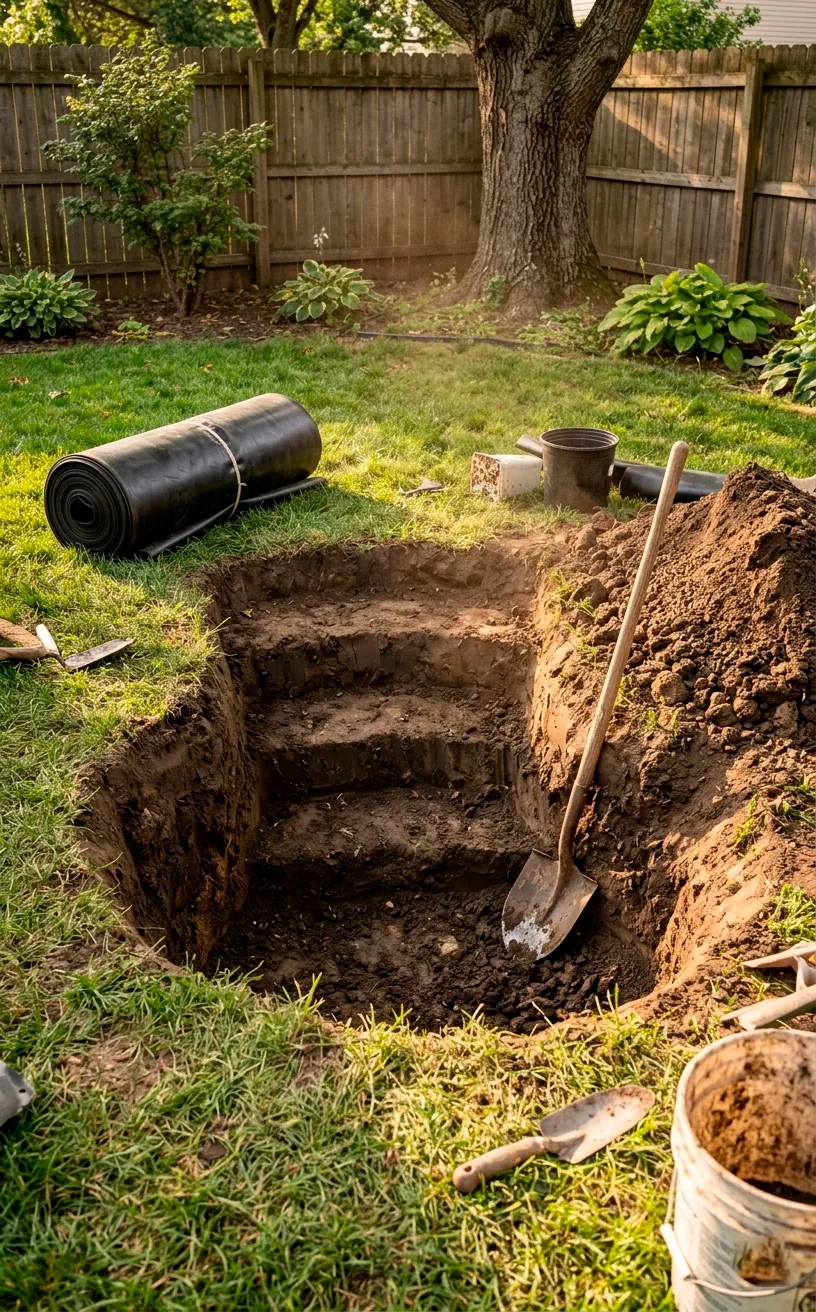
Digging and Lining Your Oasis
Grab your shovel, because it is time to get sweaty. When you start digging, aim for different depth levels rather than a single boring hole. I suggest creating ‘shelves’ around the edges for your marginal plants. This keeps things stable and looks much more authentic.
Ever seen a pond where the liner peeks out like a bad haircut? It is not a great look. You need a high-quality EPDM rubber liner because it flexes and lasts for decades. Cheap plastic will just crack and leave you with a dry hole and a very confused turtle.
Before you drop that liner in, throw down some underlayment or even old carpet scraps to protect it from sharp rocks. I once skipped this and spent my weekend hunting for a tiny, annoying leak. Don’t be like me! You can find more layout inspiration in our guide on heirloom vegetable garden layouts to pair with your water feature.
The Heart of the Pond: Filtration
Let’s talk about the heart of the operation: the pump and filter. You need a pump that moves the entire volume of your pond every hour. If your water stays stagnant, you’re basically building a mosquito hotel, and nobody wants those guests. A skimmer box is your best friend for catching floating leaves before they sink and rot.
Is your water looking like pea soup? A good UV clarifier can zap that algae if things get out of hand, but a balanced ecosystem usually handles itself. Pair your pump with a biological filter where those tiny, helpful bacteria can live.
Keep your cords tidy and your pump accessible. There is nothing worse than diving into cold water in November because your pump stopped humming. FYI, check your filters weekly during the first month to see how your pond settles in! 😉

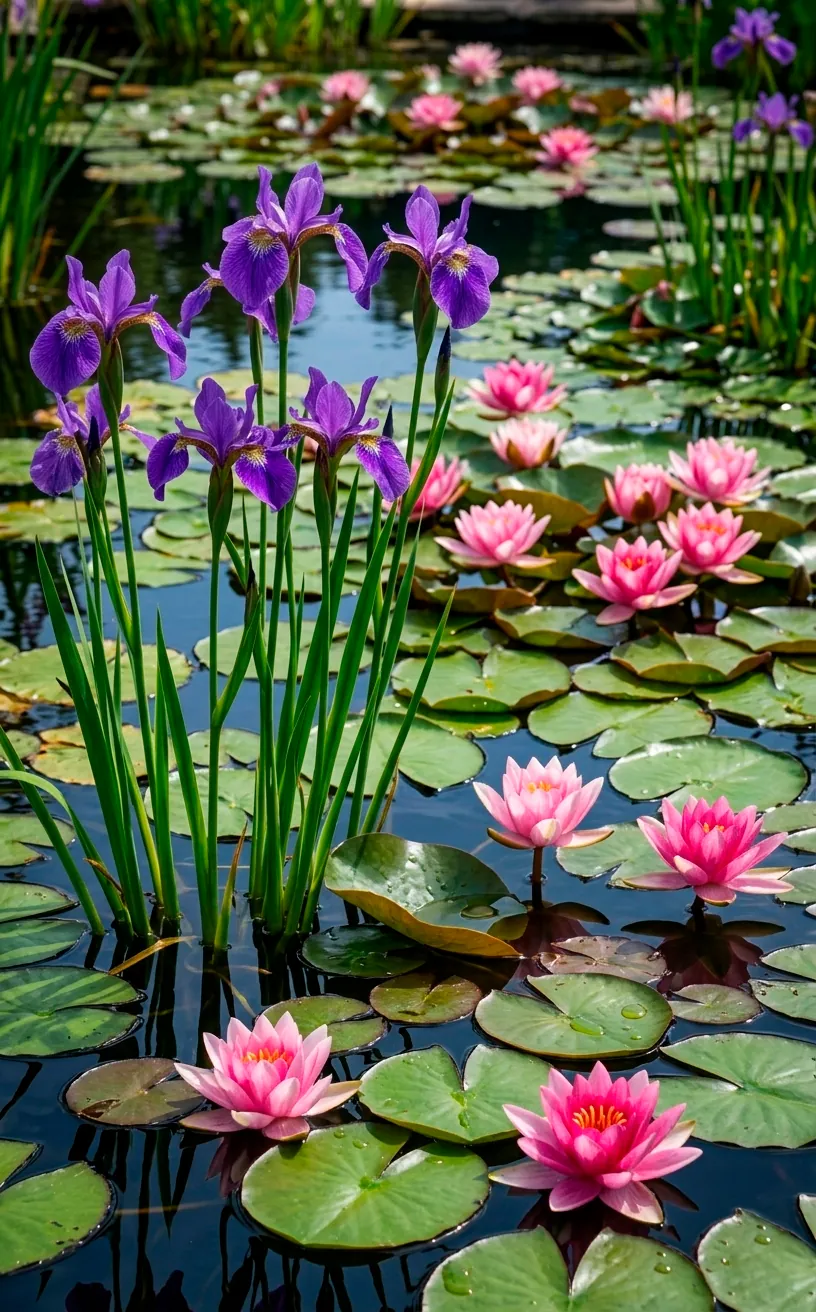
Aquatic Plants and Greenery
Plants are the real MVPs of a natural pond. You need oxygenating plants like Anacharis to live underwater and pump out the good stuff for your fish. They act like a tiny, green lung for your pond. Ever wondered how some ponds stay so clear? It’s usually the plants doing the heavy lifting.
Water lilies are the crown jewels here. They provide shade, which keeps the water cool and hides your fish from hungry herons. Plus, they look fancy as heck. Don’t forget the ‘marginal’ plants for those shelves we dug earlier. Pickerelweed and Irises add height and color, blurring the line between water and land. It makes the whole thing look like it grew there naturally.
Floating plants like Water Lettuce are great too, but keep an eye on them. They can take over faster than weeds in a neglected garden. Balance is key!
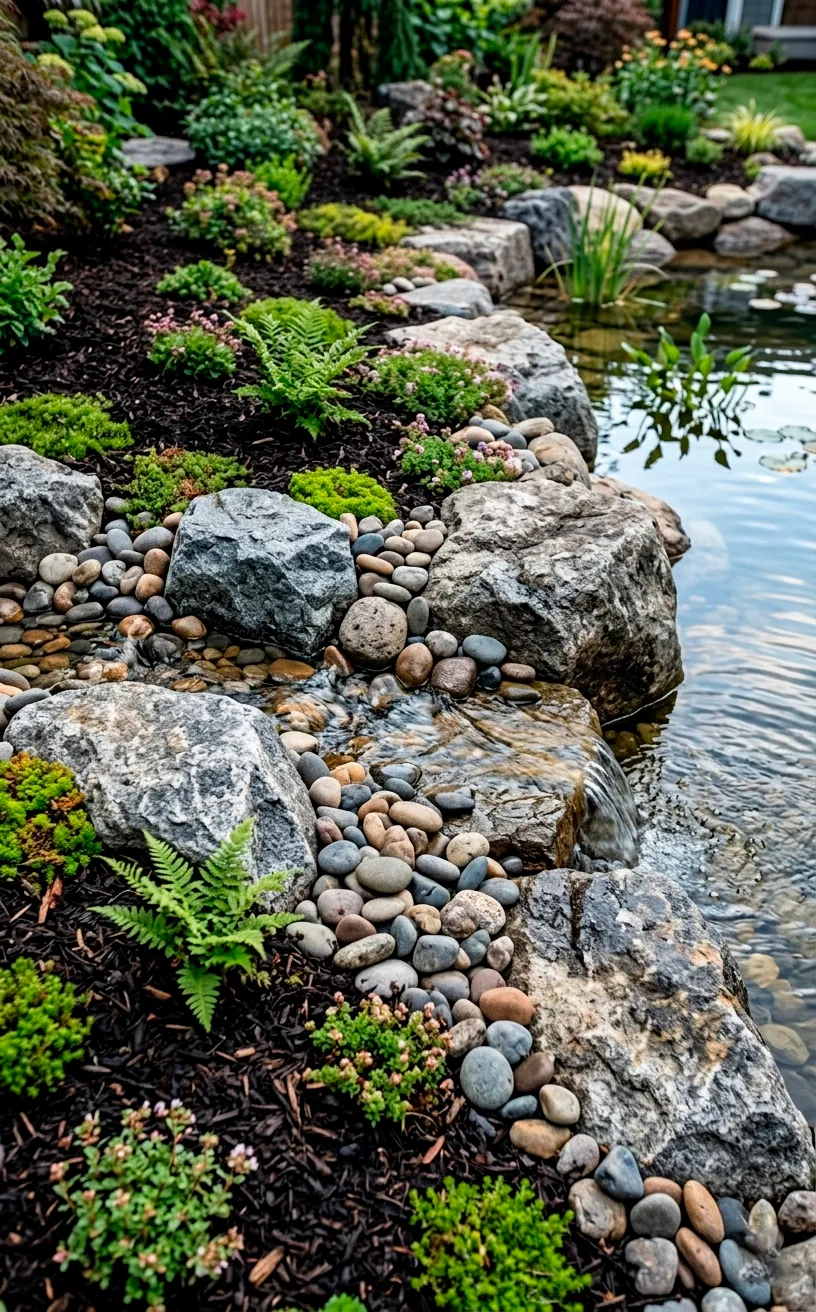
Rocks, Boulders, and Edging
Rocks turn a rubber-lined hole into a masterpiece. Use smooth river stones and large boulders of varying sizes to hide the liner completely. It should look like a mountain stream just happened to stop by your yard for a visit. Avoid using limestone, as it can mess with your water’s pH and turn your pond into an alkaline mess.
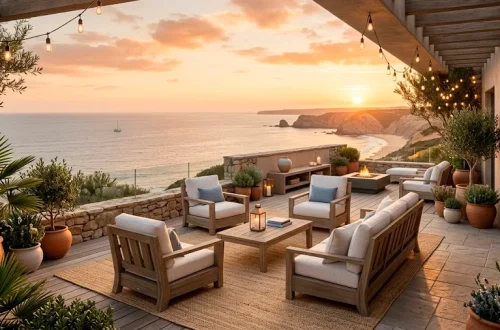
I prefer rounded fieldstones for that soft, weathered look. Place larger rocks first to create structure, then fill the gaps with smaller pebbles. If you want to see how to level up your outdoor entertaining space further, check out these 7 upscale patio pond ideas for some serious backyard envy.
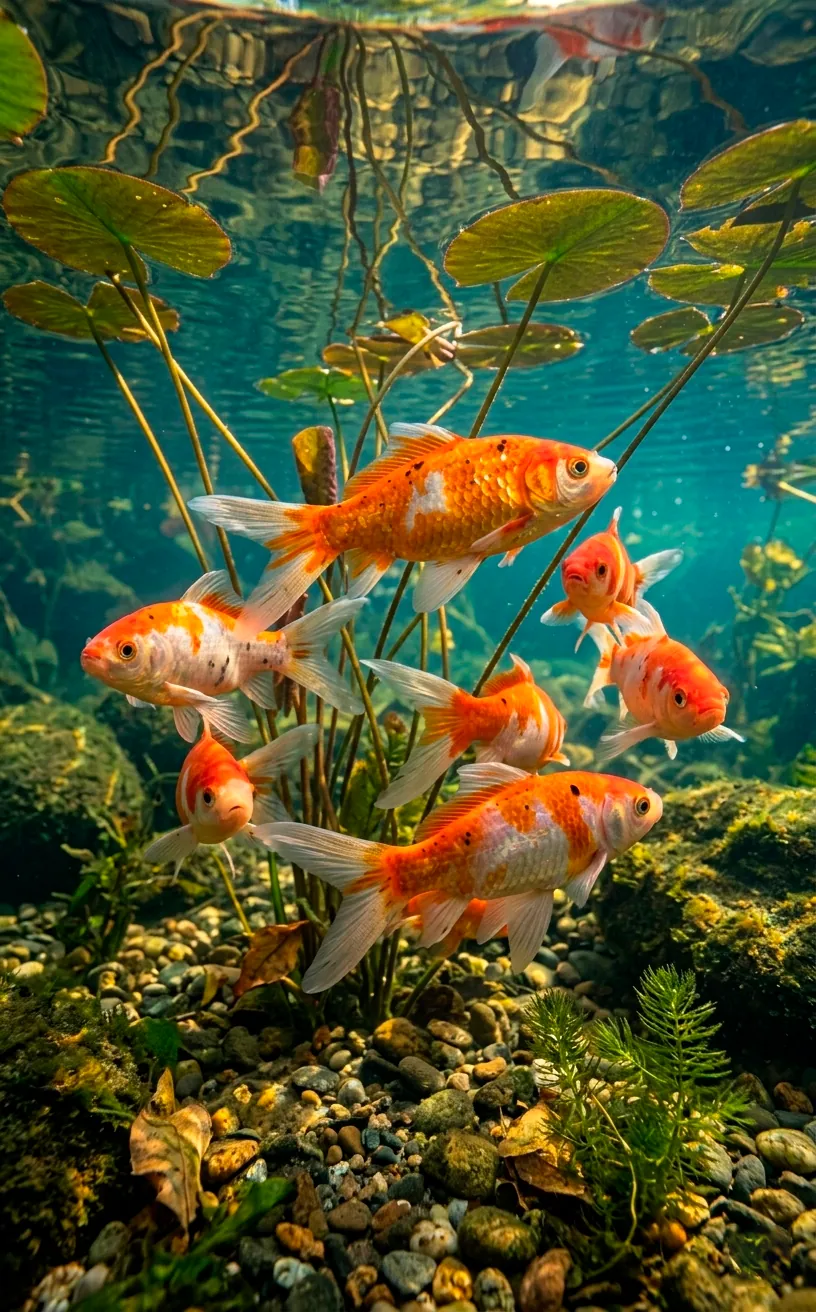
Introducing Your Finny Friends
Finally, let’s talk about the residents. Goldfish and Shubunkins are sturdy choices for beginners because they handle temperature swings like champs. Koi are beautiful, sure, but they require much more space and better filtration—they are basically the high-maintenance divas of the pond world. Make sure your pond is at least two feet deep so your fish can snooze at the bottom when the surface freezes in winter. Just don’t name them all ‘Bubbles’ like I did; it gets confusing at feeding time! 🐟
Your Backyard Sanctuary Awaits
Now you have the blueprint for a pond that will make the neighbors jealous and the local birds very happy. It takes a little sweat and some planning, but sitting by your own waterfall with a cold drink makes every shovel scoop worth it. Are you going with hardy goldfish or those fancy koi? Let me know in the comments, I’d love to hear your plans!