Skip to content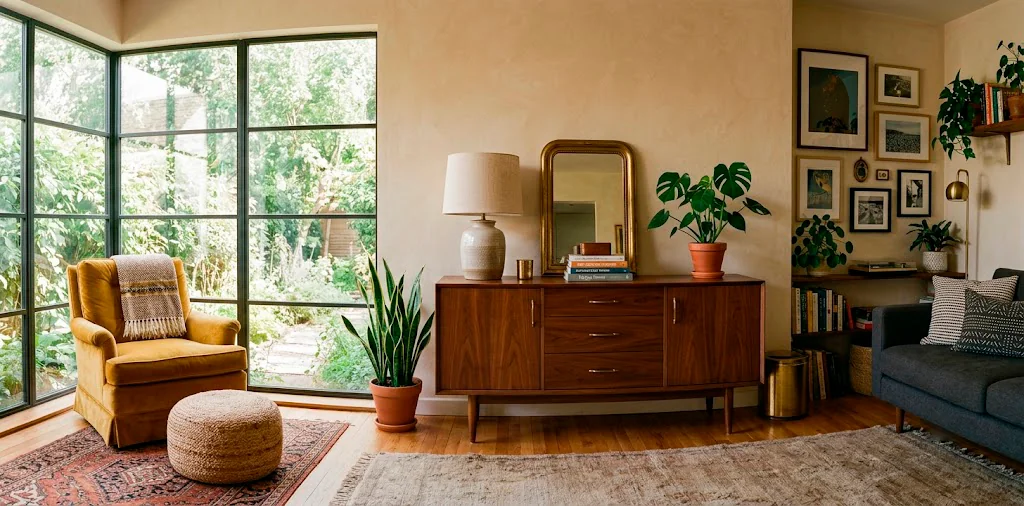
Finding that perfect vintage piece is thrilling, but looking at its peeling veneer and questionable stains? Not so much. I remember staring at an old scratched-up dresser, wondering if I just bought expensive firewood. But bringing these forgotten beauties back to life is insanely rewarding. Ready to turn that dusty thrift store find into your living room’s crown jewel?
The Thrill of the Hunt
Finding a piece with good bones is half the battle. You want solid wood construction, dovetail joints, and a shape that speaks to your personal style. FYI, leave the wobbly MDF stuff on the curb where it rightfully belongs.
I usually scour local estate sales early in the morning when the true gems are still hiding in the garage. Look past the terrifying orange varnish or sticky grime. You are buying the silhouette, not the questionable choices of previous owners. If you love hunting for these hidden gems, check out this source best vintage treasures cottagecore living room guide.

Assessing the Damage
Ever wondered why some thrifted pieces smell like a damp basement from 1973? Mildew and water damage are your absolute worst enemies here. Give your new treasure a thorough sniff and wobble test before handing over your hard-earned cash. A loose drawer joint is an easy glue fix, but severe wood rot means you just bought a very heavy, very cursed paperweight. Know your limits, and never mess with serious structural damage unless you hold a degree in woodworking. I learned that the hard way after spending three miserable days trying to fix a completely warped coffee table leg. Just walk away.
A useful little gift for your home
🎁 Free Plant Finder Tool
Filter 250+ houseplants by style, size, and care level to find your perfect green companion in seconds.
We’ll email you the link. Plus, you’ll join our newsletter for fresh home inspiration.

Stripping the Years Away
This step is messy, smelly, and oddly satisfying.
You must completely strip away the old, failing finish before doing anything else.
Chemical strippers work absolute wonders, but they will happily melt your brain cells if you skip ventilating the room. Always wear a heavy-duty respirator mask and thick rubber gloves.
Slather that thick chemical goo on the wood, wait for it to bubble up like a science experiment gone wrong, and scrape it off gently with a plastic putty knife. Metal scrapers just gouge the soft wood and instantly ruin your good mood.

The Fine Art of Sanding
Sanding is the unglamorous backbone of every successful furniture flip. Grab a power orbital sander for the large flat tops, but switch to gentle hand-sanding for the delicate curves and edges. Start with a coarse 80-grit paper to remove stubborn leftover finish, then gradually work your way up to a buttery-smooth 220-grit. Be incredibly gentle around wood veneers. Sanding straight through a vintage paper-thin veneer is a tragedy that no amount of fancy wood filler can truly hide. Trust me on this one, I ruined a gorgeous record cabinet by getting way too aggressive with power tools. Take your time, put on a great podcast, and let the sandpaper do the heavy lifting.

Fixing Gouges and Missing Parts
Now we hide the evidence of decades of abuse. Nasty dents, deep scratches, and mysterious gouges need your full attention before you even think about applying stains or fresh paint.
Wood filler is your best friend here, but you must choose your weapon carefully depending on your end goal.
Essential repair materials:
- Stainable wood filler for natural finishes
- Heavy-duty Bondo filler for painted pieces
- A damp microfiber cloth to wipe away excess quickly
Push the filler firmly into the cracks, slightly overfilling them since the compound shrinks as it cures. Once it completely hardens, sand it perfectly flush with the surrounding wood.

Choosing Your Finish
Choosing exactly how to finish your piece can paralyze even the most decisive home decorator. Do you honor the original wood grain with a rich walnut stain, or do you modernize the silhouette with a bold, moody paint color? IMO, beautiful grain deserves to shine. 😅
However, if the piece is constructed from mismatched wood scraps or has extensive visible repairs, painting is an entirely acceptable route. There is absolutely no shame in a stunning matte black finish. Just ensure you use a high-quality bonding primer first, or your beautiful paint job will chip off the first time someone looks at it funny.

Applying the Stain Like a Pro
Applying wood stain requires speed and a surprisingly light touch.
Forget those cheap foam brushes; grab a clean, lint-free cotton rag instead.
Rub the dark liquid into the wood following the natural grain, letting it soak in for just a few minutes before immediately wiping away the excess. Leaving it on too long creates a sticky, uneven nightmare that takes forever to dry.
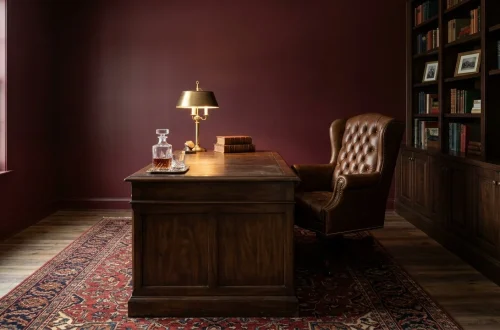
If you want a deeper tone, wait for the first coat to dry completely and add another layer. Want to see how dramatic dark finishes can look in your space? Check out this mastering moody decor dark wood brass guide.

Sealing the Deal
Sealing the furniture protects all your hard work from sweaty water glasses, pet scratches, and everyday living room chaos. I absolutely swear by wipe-on polyurethane. It goes on incredibly thin, meaning you easily avoid those annoying drip marks and brush strokes that plague thick clear coats. Apply at least three thin layers, lightly sanding with a 400-grit pad between each single coat. This creates a durable, professional-level topcoat that literally feels like smooth glass. If you prefer a more natural, low-sheen look, furniture wax is a great alternative. Just remember that wax requires reapplying every year or so, whereas polyurethane basically survives a nuclear apocalypse.

Hardware Upgrades
Hardware completely changes the personality and vibe of a restored piece.
You can scrub decades of grime off the original brass handles using a simple mix of baking soda and vinegar. It takes some serious elbow grease, but watching that bright gold emerge from black tarnish feels magical.
Hardware replacement options:
- Sleek matte black pulls for a modern edge
- Unlacquered brass knobs for classic warmth
- Vintage glass knobs for rustic cottage appeal
If the old handles are totally beyond saving, replace them with something fresh that seamlessly complements your living room’s current style.

Styling Your Masterpiece
Finally, you get to carry this heavy masterpiece straight into your living room. Position it where it gets the attention it truly deserves, perhaps sitting gracefully under a great piece of art or acting as a striking media console. Don’t crowd it with too much clutter right away; let the beautifully restored wood speak for itself.
Style the top thoughtfully. A neatly stacked pile of vintage books, a trailing live pothos plant, and a warm brass lamp instantly make the piece look like it always belonged there. You just saved a gorgeous piece of design history from a tragic landfill, and frankly, that deserves a celebratory drink. Sit back, admire those incredibly clean lines, and wait for your guests to ask where you bought it.

A useful little gift for your home
🎁 Free Plant Finder Tool
Filter 250+ houseplants by style, size, and care level to find your perfect green companion in seconds.
We’ll email you the link. Plus, you’ll join our newsletter for fresh home inspiration.
Conclusion
Restoring vintage furniture takes patience, a little elbow grease, and a very high tolerance for flying sanding dust. But the immense reward of transforming a discarded relic into a stunning, custom focal point for your living room makes every single blister worth it. Plus, you get a beautiful piece of decor that literally nobody else has. Which thrift store find are you planning to tackle first? Let me know in the comments below!