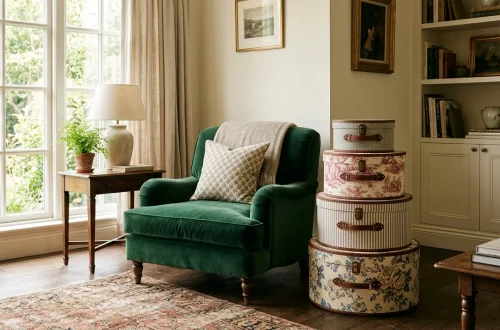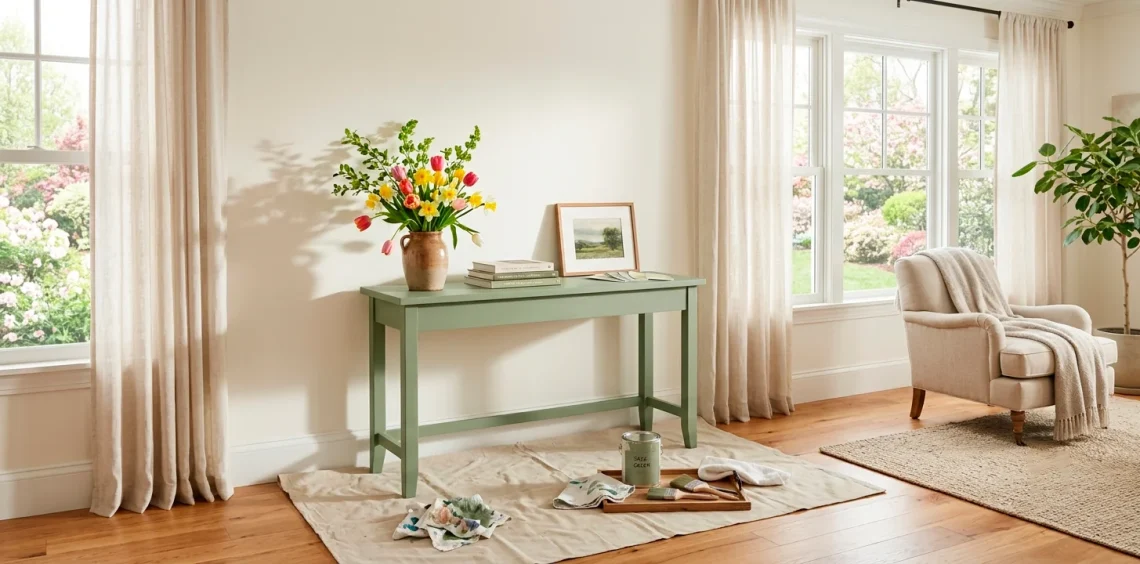
Have you been staring at that scuffed wooden dresser, wishing it would magically transform itself for spring? Grab a paintbrush, because we are making that dream happen today! I used to be terrified of ruining good furniture, but painting is actually the easiest way to refresh your home. Let’s turn your tired furniture into stunning showpieces!
Why Starting Small Saves Your Sanity
You finally decide to tackle an enormous, intricate dining cabinet for your very first project. Stop right there! Trust me on this one—starting with a massive piece will only lead to tears and a half-finished monstrosity sitting in your garage until July. I once tried to paint an eight-drawer dresser on my first go, and I almost threw my brushes in the trash by day two.
Instead, grab a simple side table or a wooden chair. Small projects build your confidence and let you test out paint colors without a massive commitment. Ever wondered why pro DIYers always suggest nightstands first? Because you can finish them in a single weekend! Plus, small wins fuel your creative energy for spring.

The Great Paint Debate: Chalk, Mineral, or Latex?
Walking down the paint aisle feels like entering a gladiatorial arena of endless choices, IMO. You will see chalk paint, mineral paint, and traditional latex all screaming for your attention. Here is the breakdown: chalk paint requires minimal prep and gives you that velvety, matte finish everyone craves. Mineral paint offers incredible durability and usually includes a built-in topcoat, which saves you a whole step! Traditional latex works fine, but it demands a solid primer layer first. For beginners wanting a quick spring refresh, grab chalk or mineral paint. They glide on smoothly and hide minor imperfections like a dream. Pick a paint that matches your patience level!

Prep Work Is Not Optional (Yes, Really!)
We need to address the elephant in the workshop right now. You cannot just slap paint over decades of furniture polish, sticky fingerprints, and mystery grime. If you skip the cleaning stage, your expensive paint will peel off faster than a sunburn.
Grab a heavy-duty degreaser or a simple mixture of warm water and dish soap. Scrub every single inch of that wood until it squeaks!
Essential prep supplies for beginners:
- Degreaser or sugar soap solution
- Scrubby kitchen sponges and microfiber cloths
- Wood filler for annoying deep scratches
Clean furniture ensures a professional bond and saves you from peeling disasters later. If you want more inspiration on reviving your home naturally, check out this guide to curating sustainable spring home decor.

The Sanding Reality Check
I know you just groaned at the word “sanding.” Nobody actually enjoys breathing in dust while scrubbing away at old varnish! However, you do not need to strip the wood down to its bare, naked soul. You only need to scuff-sand the surface to give the new paint something to grip. Grab a medium-grit sanding block—around 150 or 180 grit works wonders—and lightly rub the entire piece in the direction of the wood grain. Wipe away all that lingering dust with a damp lint-free cloth or a tack cloth before you open your paint can. A rough five-minute scuff sand guarantees a finish that lasts for years.

Priming for Success: When and Why You Need It
Why buy another can of stuff when you just want to see that beautiful spring color on your piece? Because dark woods like mahogany and cherry love to bleed pink stains right through your pristine white paint!
A stain-blocking primer stops those annoying tannins in their tracks. It acts like a protective shield between the old wood and your fresh topcoat.
If you paint a dark laminate piece with a light pastel color, primer is your absolute best friend. It bridges the gap between slippery surfaces and your topcoat.
Apply one even coat of quality primer and let it dry completely. You will thank me when your soft sage green stays green instead of turning a weird, muddy pink! FYI, patience during this stage separates the amateurs from the pros. 😉

Brushes vs. Rollers: Choosing Your Weapons
Let’s talk tools! Your choice of applicator can make or break the visual texture of your spring refresh project. Using a cheap, bristle-shedding brush from the dollar store will leave your furniture looking like a hairy beast.
Invest in a high-quality synthetic bristle brush for intricate spindles, legs, and detailed moldings. For wide, flat surfaces like dresser tops and cabinet doors, grab a high-density foam roller or a short-nap microfiber roller. The roller applies the paint at lightning speed and leaves a silky-smooth finish without any unsightly brush marks. Great tools do half the hard work for you!

Painting Techniques for a Flawless Finish
You finally popped the lid off your gorgeous spring paint! Now, take a deep breath and remember the golden rule of furniture painting: thin coats win the race every single time.
Don’t try to cover the dark wood completely on your very first pass. Dip your brush just halfway into the bristles, offload the excess paint on the rim, and apply long, even strokes in the direction of the grain.
Let the first coat dry thoroughly before you judge the coverage. The second coat will magically bring out the rich, vibrant color and cover up any patchy spots. Ever noticed how rushing the drying time ruins the smooth texture? Give it a couple of hours to cure properly between coats!

Sealing the Deal with Topcoats and Waxes
You put in the hard work, so let’s protect that masterpiece from daily wear and tear! If you used traditional chalk paint, you must seal it with furniture wax or a water-based polyacrylic topcoat to prevent stains and scratches. Wax gives the piece a soft, hand-rubbed luster that feels amazing to the touch. Simply buff it on with a lint-free cloth or a wax brush, then wipe off the excess. For high-traffic surfaces like coffee table tops or dining chairs, brushing on a clear, non-yellowing polyacrylic offers superior protection against water rings and coffee spills. Never skip the topcoat if you want your paint job to survive daily life!

Hardware Upgrades That Bring the Drama
Old, dated knobs can ruin the vibe of a freshly painted dresser faster than anything else. Swapping out standard wooden knobs for modern brass pulls, sleek matte black handles, or whimsical ceramic knobs acts like an instant facelift for your furniture.
Fun hardware styles to try this spring:
- Brushed brass or champagne gold bar pulls
- Vintage-inspired glass or crystal knobs
- Whimsical ceramic floral handles
I love this feature of furniture flipping because it costs very little money but completely changes the personality of the piece! Measure the distance between your existing holes before you order new hardware, or keep wood filler handy to drill new ones.

Styling Your Freshly Painted Piece
Your spring refresh project is officially complete, cured, and sitting proudly in your living room! Now comes the absolute best part: styling your refreshed furniture to show it off to the world.
Top your new side table or console with fresh spring blooms, a woven seagrass tray, and a stack of colorful art books. Add a small brass lamp or a scented candle to create a cozy, inviting atmosphere as the evening rolls in.
The contrast between your fresh paint color and natural decorative accents instantly breathes new life into your entire room. If you want to learn how to tie everything together seamlessly, check out these top 2026 interior design trends to watch right now.

Conclusion
You now have all the secrets to conquer your first furniture painting project without losing your mind! Spring is the perfect time to experiment with fresh colors and breathe new life into older pieces. Grab your brushes, pick a bold shade, and start creating something magical. Which color are you grabbing first? Let me know in the comments!