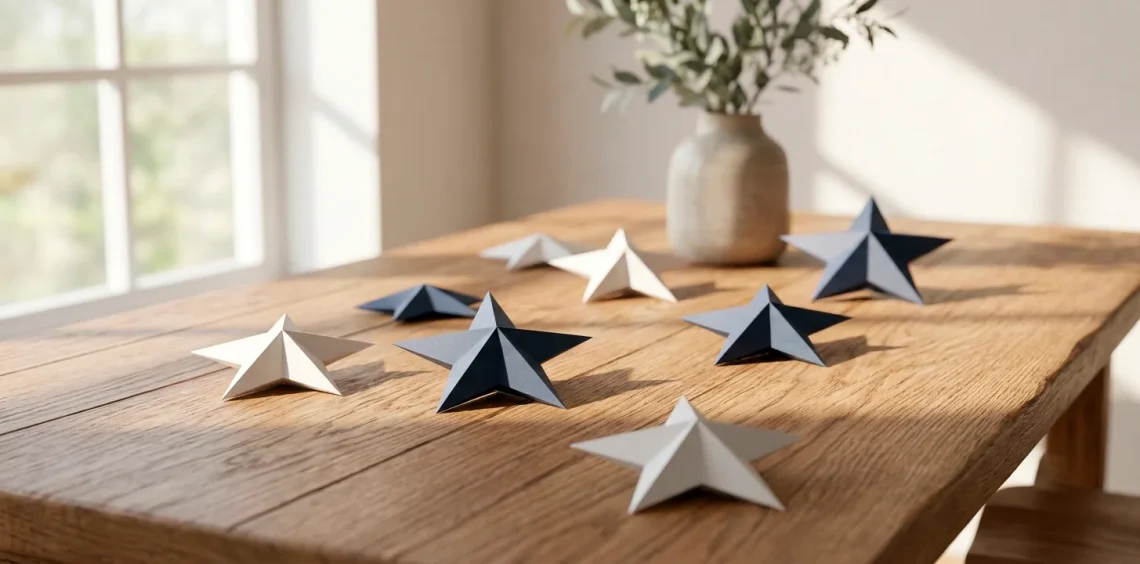
Ever noticed how holiday crafts often look like a glitter bomb exploded in your living room? I absolutely hate cleaning up that mess. We are skipping the tacky plastics this year. Instead, I make these sleek, minimalist Memorial Day stars using simple paper and basic tools. They look ridiculously chic and take literally five minutes to fold. Ready to craft?
Why Minimalist Stars Actually Work
Minimalist decor simply breathes better in a room. You avoid the overwhelming sensory overload that usually accompanies holiday decorating. When I first tried making these stripped-down paper stars, I honestly expected them to look boring and unfinished. Surprisingly, they bring a sharp, sophisticated vibe to my mantelpiece that completely elevates the room. Plus, you save serious cash by using materials you probably already have sitting in your desk drawer. Why buy plastic junk when you can fold something beautiful yourself? Win-win, right?

Gathering Your Essential Supplies
Nobody enjoys running to the craft store mid-project. Grab everything before you start folding. You want thick, high-quality paper that holds a crease perfectly without tearing or buckling under pressure.
Thin paper just flops over, and we definitely want crisp, structural stars. I learned this the hard way last Memorial Day when my flimsy origami paper completely collapsed under its own weight. 🤦♂️
Here is exactly what you need. Essential crafting tools:
- Heavyweight cardstock (white, navy, or kraft)
- Precision craft scissors
- A bone folder
- Baker’s twine (optional)

The Secret to Perfect Folds
Getting those crisp edges separates a messy craft from a professional-looking piece. You absolutely need a bone folder. This simple tool flattens your creases effortlessly, making the thick paper behave exactly how you want it to.
Do not just rely on your fingernails to press the paper down. IMO, that leads to uneven, sloppy lines that completely ruin the sleek minimalist aesthetic we want. Take your time, line up the corners perfectly, and press firmly for the best structural results. Your hands will thank you later, trust me.

Cutting the Right Angles
Making the perfect five-pointed star requires a single, precise cut. You fold your paper into a specific triangle shape first.
Once folded, grab your precision scissors. The angle of your cut dictates the final shape of your star.
Cut at a steep angle, and you get sharp, dramatic points that look incredibly modern. Cut straight across, and you unfortunately end up with a weird, chunky pentagon.
I always practice on cheap scrap paper first. It saves my expensive cardstock from my inevitable math errors and clumsy scissor mistakes.

Assembling Your Star Masterpieces
Unfolding the cut paper feels like pure magic every single time. You gently pop the creases to create a stunning 3D effect. Pinch the long points outward and push the short inner folds inward. This simple manipulation transforms a flat, boring piece of paper into a structural marvel. Want a much fuller look? You can easily stack two stars together using a tiny dot of craft glue right in the center. The added dimension casts beautiful shadows against your walls during the afternoon sun.

Adding a Subtle Touch of Color
Minimalism does not mean ignoring color completely. We still want a clear patriotic nod, just without the neon red and bright blue plastic streamers that scream “discount store.”
I love using muted, dusty navy or deep crimson paper instead of stark primary colors. You can also lightly brush the edges of white cardstock with watercolor paint for a soft, slightly lived-in look.
It keeps things festive but highly elegant. If you want to take these beautiful crafts outside for your barbecue, you should definitely read this guide to styling outdoor Memorial Day decorations.

Styling Your New Patriotic Decor
Now you have a pile of beautiful stars. What do you actually do with them? String them along a piece of rustic baker’s twine for an effortless mantel garland.
You can also scatter them directly across your dining table as a chic, low-profile centerpiece. I sometimes use double-sided tape to attach them directly to a blank wall, creating a striking architectural art display. The possibilities are truly endless when your handmade decor looks this good. Have fun placing them around your home!

Conclusion
You just created stunning Memorial Day decor without stressing out or spending a fortune. These minimalist stars prove that holiday crafts can look sophisticated and modern. You control the colors, the sizes, and the entire aesthetic. Hang them up, admire your handiwork, and enjoy a beautifully styled weekend. Which room are you decorating first? Let me know in the comments!