Let’s talk about that laundry room you speed-walk past with your eyes closed. We all have one. Those yellowing, peeling cabinets screaming for help don’t need an expensive replacement. Refacing your old laundry room cabinets is a surprisingly easy weekend project that saves serious cash. Grab your coffee, and let’s turn that tragic workspace into a masterpiece. ☕
What Exactly Is Cabinet Refacing?
Before ripping down perfectly good wooden boxes, let’s clarify what refacing actually means. You keep the existing cabinet frames, paint or veneer them, and simply swap out the old doors and drawer fronts for brand-new ones. It completely changes the room’s vibe without the demolition dust. 🛠️
Honestly, I thought refacing was just a fancy word for painting until I tried it on my own disastrous utility room. FYI, it’s way less chaotic than a full gut job. Why pay thousands to a contractor when the structural bones of your cabinets are still rock solid?

Assessing Your Current Cabinet Boxes
Give your current cabinets a hard, slightly judgmental stare. You need to verify the interior boxes are structurally sound. Water damage and rotting wood are absolute dealbreakers here. If the shelves bow heavily or the hinges barely cling to the frame, refacing won’t fix those underlying nightmares. Check for major warping near the sink area especially. If the basic skeleton holds up strong under pressure, you just got the green light for a fabulous makeover. A solid foundation guarantees your new doors will actually hang straight.

Gathering Your Refacing Arsenal
You can’t conquer this project empty-handed.
Preparing your toolkit early saves you from making three embarrassing trips to the hardware store in paint-splattered sweatpants. IMO, investing in a decent power drill makes the hinge installation practically effortless.
Refacing Essentials:
- Power drill and screwdrivers
- Sandpaper (medium and fine grit)
- High-adhesion primer and cabinet paint
- New doors, drawer fronts, and hardware
You also need some heavy-duty degreaser. Laundry rooms trap sneaky layers of lint and detergent residue over the years.

Prepping the Frames Like a Pro
Prep work is the horribly boring secret behind every stunning DIY project. Remove all the old doors and toss them—or upcycle them if you feel crafty. Scrub down the cabinet frames with your degreaser until they squeak. Next, lightly sand the exposed frames to rough up the old finish. You don’t need to strip them bare; just give the new primer something grippy to hold onto. Wipe away the dust with a tack cloth before popping open your paint can. Skipping this step guarantees peeling paint, and nobody wants that heartbreak. 💔

Painting or Veneering the Bones
Now comes the fun part where the magic starts happening. You have two choices for the exposed cabinet frames: apply a matching wood veneer or paint them.
Paint usually wins because it costs less and forgives minor mistakes. Use a high-quality foam roller to apply an even, streak-free coat of cabinet-grade enamel. Two thin coats always look better than one thick, drippy mess. Let the frames dry completely overnight.
Impatience ruins good paint jobs! Resist the urge to poke it. While you wait, start brainstorming what quirky hardware you want to install. If you need some vintage inspiration, check out these 10 retro appliance colors for a vintage laundry room.

Ordering Your Dream Doors
Measuring for new doors causes immediate panic for most beginners, but it really just requires basic addition. Measure your cabinet openings twice. Decide if you want an overlay style (where doors rest on top of the frame) or inset doors (where they sit flush inside). Overlay is drastically easier for DIYers.
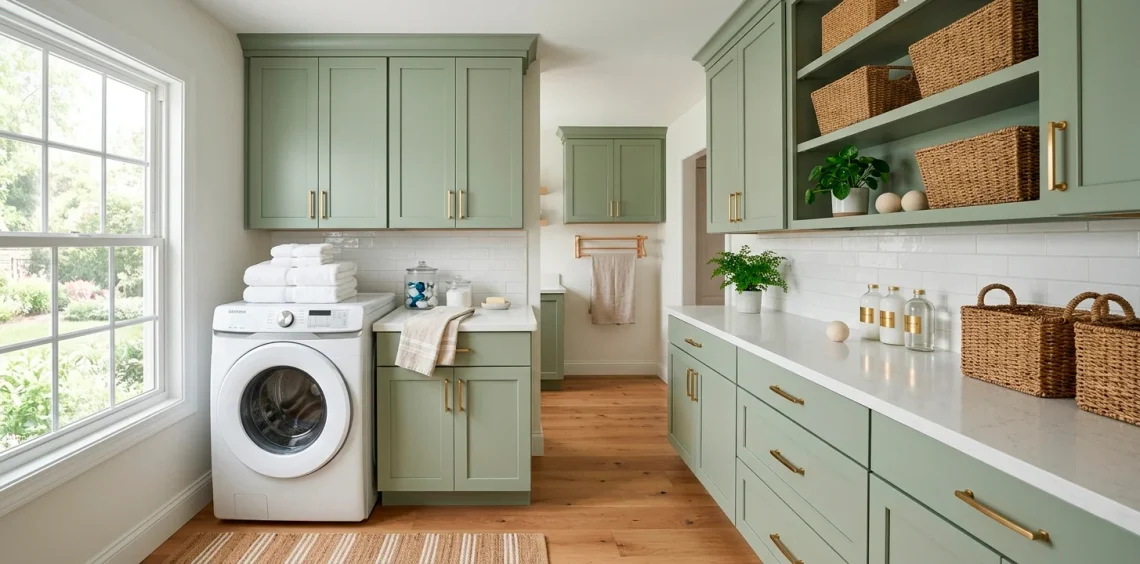
Companies custom-build replacement doors to your exact specifications, shipping them right to your porch. You choose the wood species, the profile, and whether they arrive raw or pre-painted. I heavily favor Shaker-style doors because they hide dust better than ornate designs and instantly modernize the space. ✨

Installing the Hardware and Hinges
Your shiny new doors arrived!
First, attach the new concealed hinges to the doors. Using a simple hinge jig makes this alignment foolproof, eliminating those crooked gaps that drive perfectionists crazy.
Hang the doors carefully onto your freshly painted frames. Most modern hinges feature tiny adjustment screws so you can nudge the doors up, down, or sideways until they align perfectly.
Finally, drill the holes for your knobs or pulls. A hardware template saves you from drilling a permanent, off-center hole. Those little details elevate the entire look from homemade to high-end. 💎

The Grand Reveal
Step back and admire the absolute transformation. You just resurrected a tired, depressing utility space using nothing but new doors, some paint, and your own willpower. A bright, stylish laundry room actually makes folding clothes feel slightly less agonizing. Add a cute rug, some glass detergent jars, and a leafy houseplant to finish the aesthetic. Refacing proves that upgrading your home doesn’t always require a contractor and a sledgehammer. You completely mastered this! 👏

Conclusion
Refacing your old laundry room cabinets breathes immediate new life into your home without draining your bank account. You keep the strong bones, add a fresh face, and create a space you actually enjoy using. Which door style are you grabbing first for your project? Let me know in the comments! 🛠️