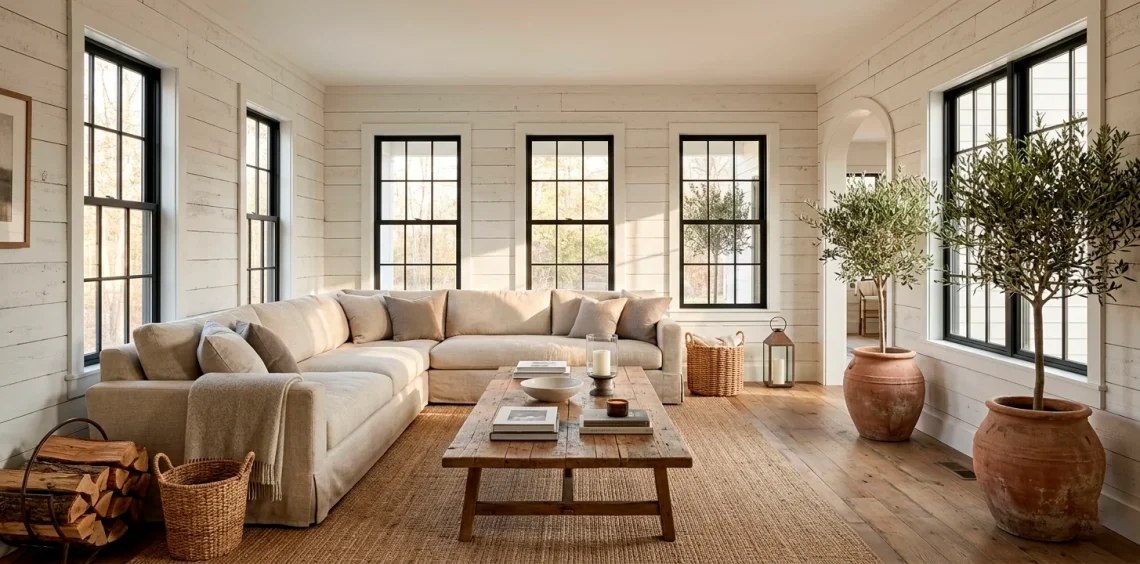
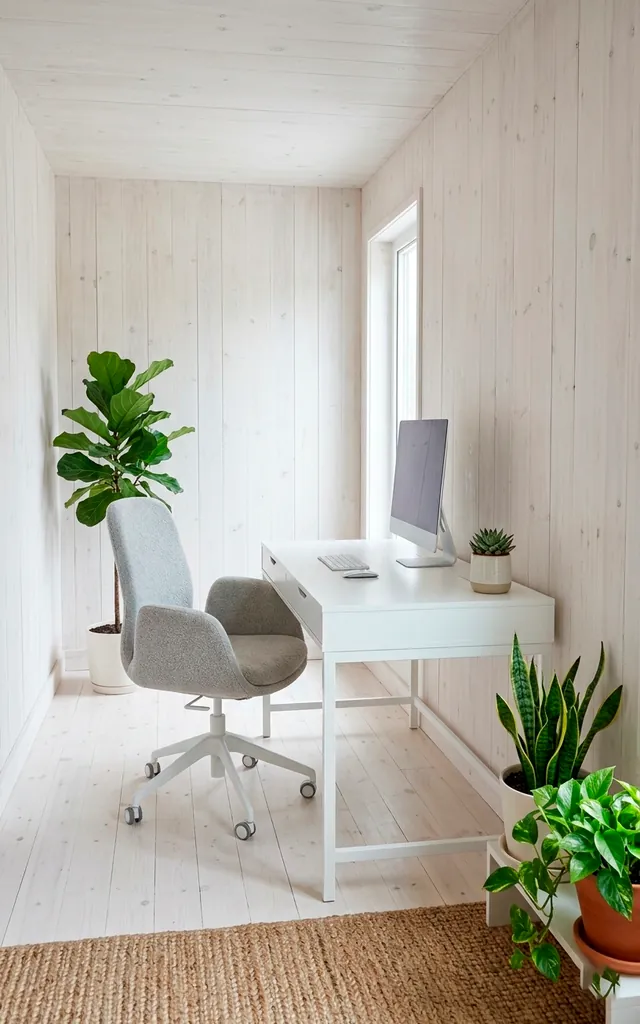
Forget those dark, heavy wood panels that make rooms feel like a 1970s basement. I’ve spent years obsessing over textures, and nothing beats the glow of whitewashed wood. It’s the ultimate “clean slate” for your home. Ready to brighten things up without losing that cozy, rustic soul? Let’s talk about why this look is the absolute GOAT of farmhouse design. 🙂
The Magic of Texture and Light
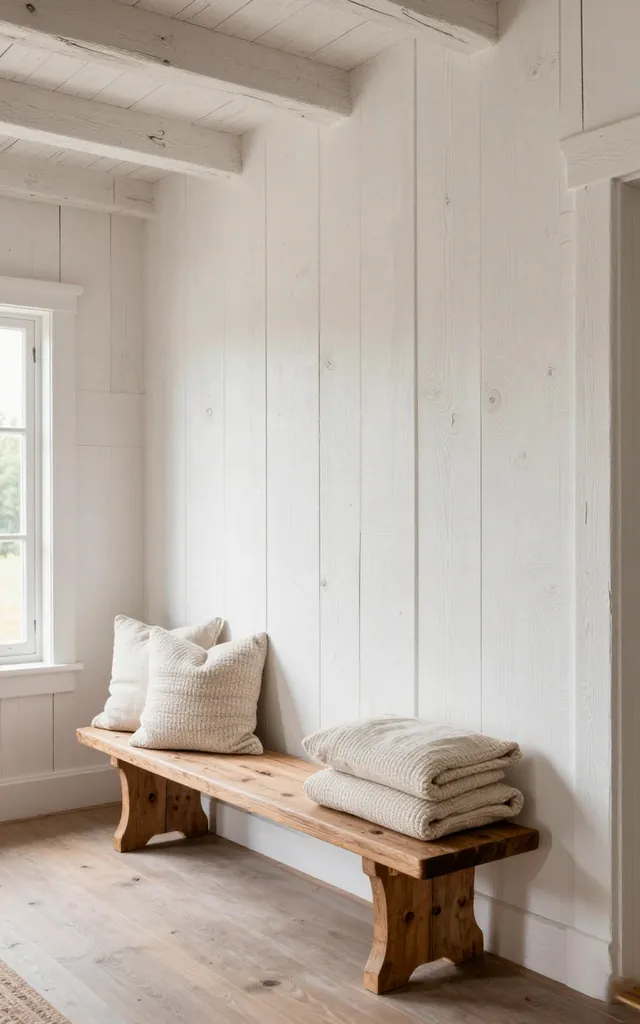
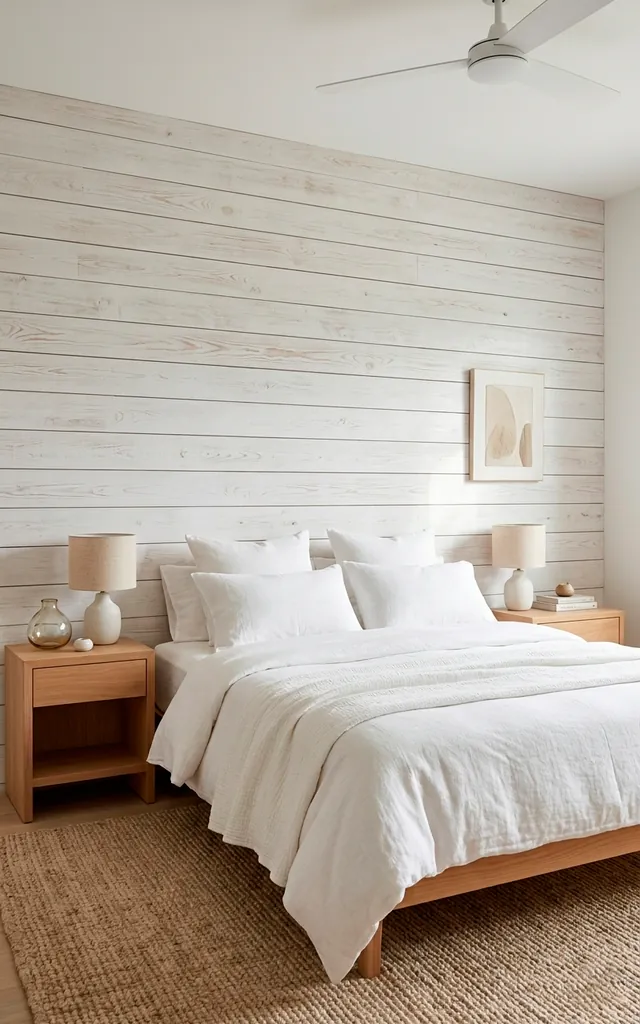
Why does a bit of watered-down paint change everything? Whitewashing lets the natural grain peek through while bouncing light into every corner. I recently redid a cramped hallway, and the transformation felt like adding a window where none existed. It’s not just a color; it’s a mood. Do you want your walls to feel like a heavy blanket or a crisp morning breeze?
- Increases perceived space
- Highlights organic wood patterns
- Softens harsh interior lighting
Choosing Your Wood Wisely
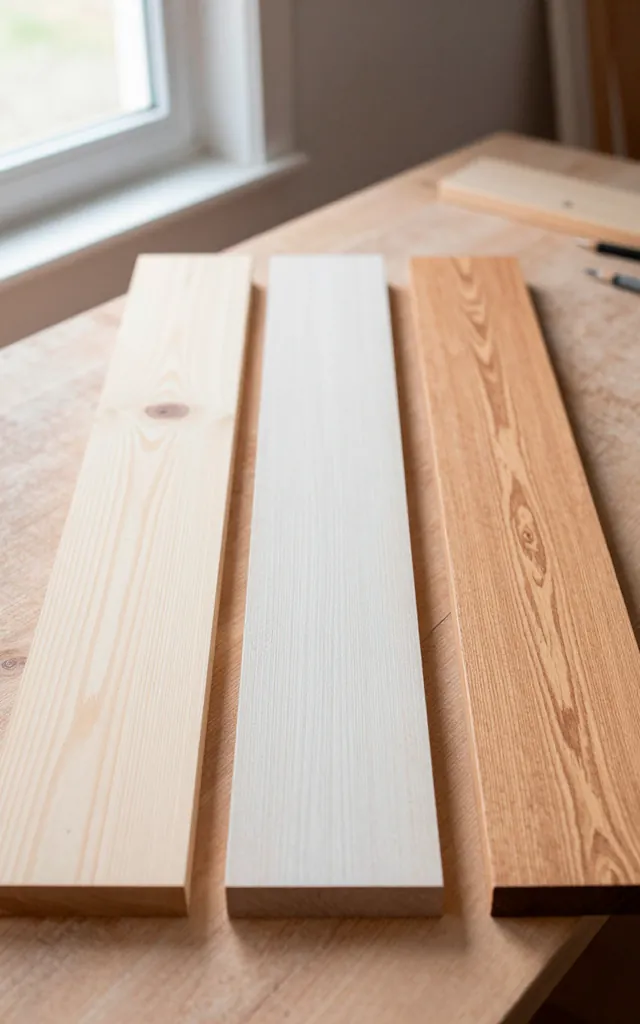
Not all wood is created equal, FYI. Pine is the classic choice because its knots look amazing under a thin coat of white. Cedar brings a bit more grit and character if you’re feeling bold. I always tell friends to test a scrap piece first unless they enjoy surprises—and usually, they don’t! Is your wood choice doing the heavy lifting for your style?
Popular Wood Types
- Pine: Affordable and knotty.
- Cedar: Rich texture and aromatic.
- Oak: Subtle grain for a modern look.
The Secret Ratio for the Perfect Mix
Getting the water-to-paint ratio right is basically a kitchen science experiment. I prefer a 50/50 mix for that “just enough” coverage, but a 70/30 mix gives you a cloud-like finish. Just grab a bucket, a stir stick, and prepare for a little mess. Why settle for boring flat paint when you can have depth?
- Thin mix: Shows more wood grain
- Thick mix: Provides a cleaner, whiter look
- Test patches: Always perform these first
Application Techniques That Actually Work
Don’t just slap it on and hope for the best. Use a rag or a brush to apply the mix, then wipe it back immediately. This “wipe-off” method ensures the grain stays the star of the show. I’ve definitely learned the hard way that working in small sections prevents ugly lap marks. Is your arm ready for a little workout?
The Pro Workflow
- Apply in the direction of the grain
- Wipe quickly with a lint-free cloth
- Sand lightly between coats
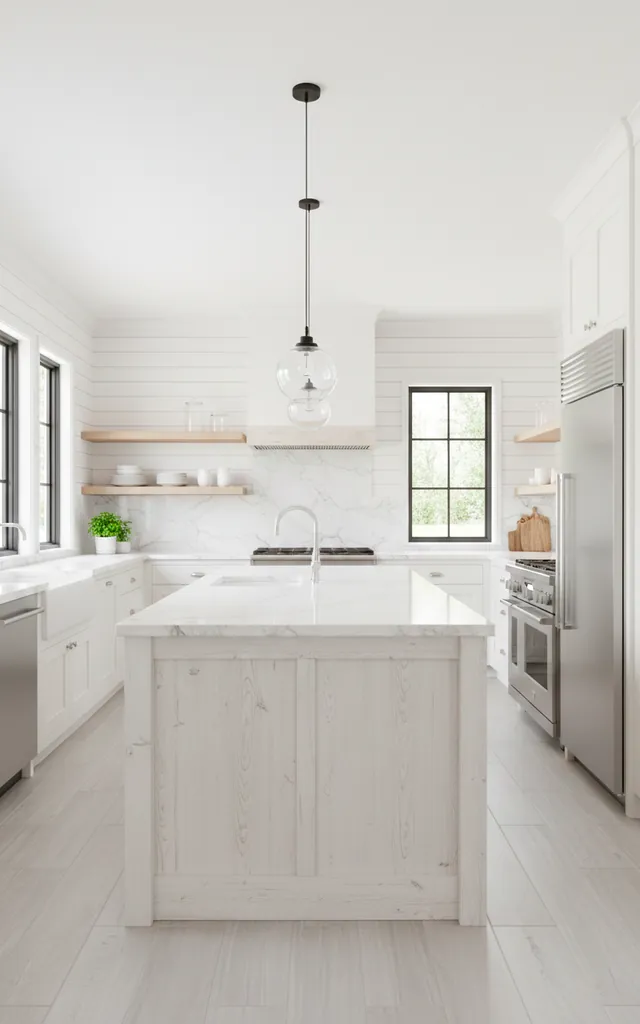
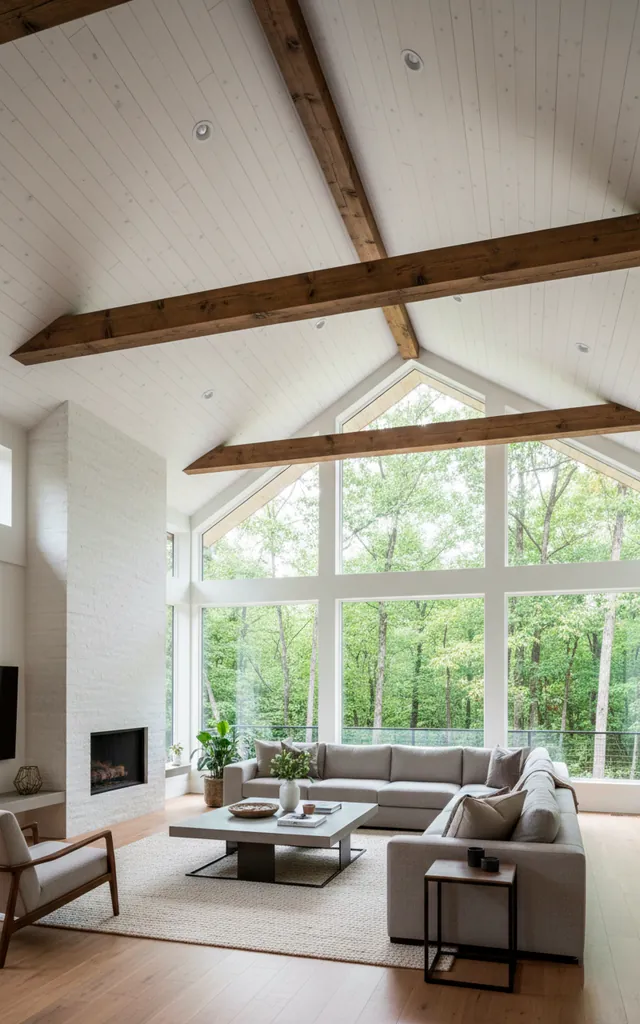
Beyond the Walls: Ceilings and Accents
Why stop at the walls? Whitewashed ceilings create a massive sense of height and luxury. I once saw a bathroom with a whitewashed vanity that looked straight out of a luxury spa. It’s a versatile trick that works on furniture just as well as it does on shiplap. Ever thought about looking up for your next project?
- Beams: Add contrast with dark wood
- Furniture: Refresh old dressers easily
- Vanities: Bring a coastal vibe to bathrooms
Maintenance Without the Headache
Good news: this look is incredibly forgiving. Unlike high-gloss paint, a little scuff just adds to the “distressed” charm. A simple damp cloth handles most dust and dirt without ruining the finish. Honestly, it’s the lazy decorator’s dream come true. Who has time for high-maintenance walls anyway? :/
- Dusting: Use a soft microfiber cloth
- Cleaning: Use mild soap and water only
- Protection: Apply a matte sealer for high-traffic areas
The Final Flourish
Whitewashed wood walls are the undisputed foundation of that airy, lived-in farmhouse vibe. They bridge the gap between rustic history and modern brightness perfectly. Whether you’re tackling a whole room or just a small accent, you really can’t mess this up. Ready to grab a brush and start your own transformation? Trust me, your home will thank you!